
The Neophyte's Custom Liquid Cooling Guide: How To, Why To, What To Expect
- Posted in
- Cases/Cooling/PSUs
- Systems
- G.Skill
- Corsair
- Gigabyte
- Haswell
- Water Cooling
- Plextor
- NVIDIA
- Overclocking
- Swiftech
Now that you understand what the fittings are, the rest of it is just a matter of going by the plan and adapting as unforeseen issues materialize. There isn't any order you have to connect the individual parts in, just as long as they make a complete loop and you're careful to tighten (but not overtighten) all of the seals. My suggestion is to just connect whatever's easiest and take your time. That said, the easy part and one of the most fun parts is installing the waterblocks.
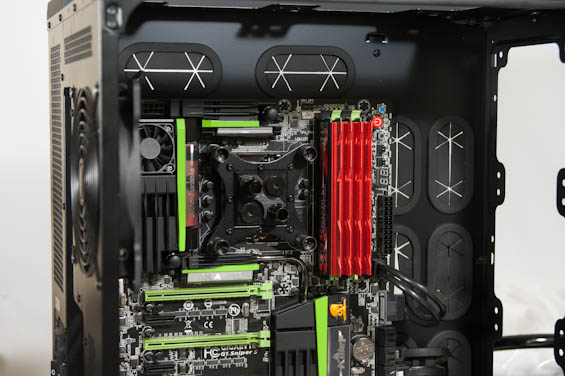
The CPU waterblock goes on pretty much like any conventional CPU cooler, but without a massive heatsink array getting in the way or even the tubing from a CLC. Because the Apogee HD's two barbs both stick straight up and the area surrounding the CPU socket is typically pretty clear, this is actually fairly easy to install early and connect late.
Installing the GPU waterblock is more involved, but not actually that bad. Disassembling a GeForce GTX 780 (or 680/770/Titan) is simple; the hardest part really is saying farewell to that beautiful stock cooler. The back of the card is going to be nothing but screws; four larger Philips head, one smaller one, and then ~15 small torx screws. You'll have to remove all of them. The stock cooler has two different connectors plugged into the PCB that you'll also need to disconnect.
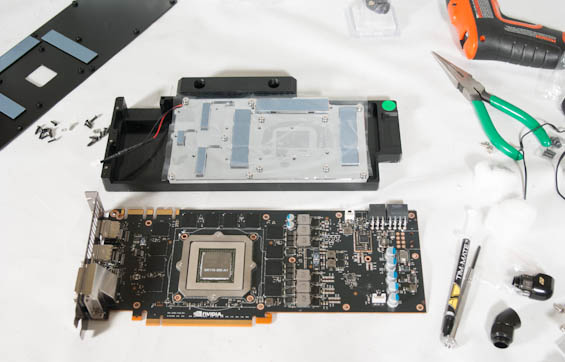
Once the cooler is removed, use a cotton ball and some rubbing alcohol (90% pure or better) and gently remove the thermal grease from the surface of the GPU die. From there, the included instructions for the waterblock will be very clear and straightforward. The benefit of using a specially designed waterblock like the KOMODO-NV is that the assembly is extremely easy. It's contingent upon your card being a reference board, but the block is designed specifically to fit that board and cool all of the surface components. From the photo above you can even see the thermal padding for the power circuitry and GDDR5 chips.
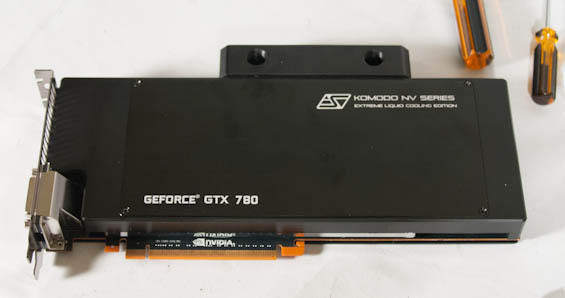
In my opinion, the video card waterblocks are the biggest upshot of a custom liquid cooling loop. Everything gets cooled properly, the blocks look nice, and you'll see load thermals that are maybe half what the card ran at under air.
Originally published at https://www.anandtech.com/show/7363/the-neophytes-custom-liquid-cooling-guide-how-to-why-to-what-to-expect (Wayback Machine).