
The Neophyte's Custom Liquid Cooling Guide: How To, Why To, What To Expect
- Posted in
- Cases/Cooling/PSUs
- Systems
- G.Skill
- Corsair
- Gigabyte
- Haswell
- Water Cooling
- Plextor
- NVIDIA
- Overclocking
- Swiftech
Component selection for this build was tricky, but not overly so. If you're going to engage in an undertaking like this, you really do want to pick the most ideal hardware you can. Thankfully we had a few vendors willing to step up and donate some very high quality kit to this build.
Intel Core i7-4770K Processor
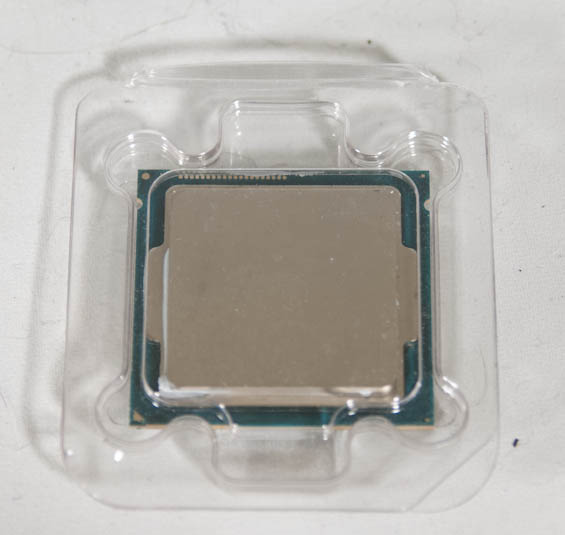
For our CPU we went with Intel's shiny new Haswell architecture in the form of the Core i7-4770K. This quad-core, hyper-threaded chip runs at a nominal 3.5GHz clock with a maximum turbo boost of 3.9GHz on a single core, and is one of Intel's first chips to feature an integrated VRM. Intel's 22nm chips seem to have been largely thermally limited, making the newest member of the family a compelling choice to be the center of a watercooling build. You do always run the risk of getting a dud CPU that simply doesn't want to run at a high clock speed without an unrealistic amount of voltage, though. Note that ours is a retail chip and not an Engineering Sample, so it's subject to the same potential limitations as any CPU you might pick up off the shelf.
Our thanks to CyberPowerPC for graciously donating this processor.
G.Skill Trident X 32GB (4x8GB) DDR3-2133 RAM
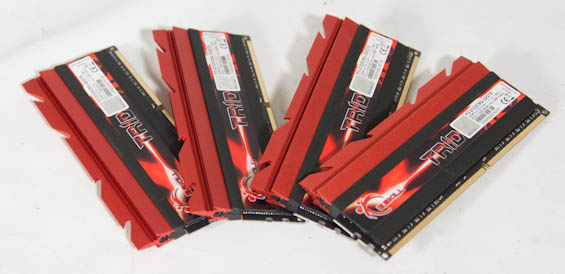
Our resident motherboard reviewer and overclocking expert, the good Dr. Ian Cutress, recommended we go with G.Skill for this build, and G.Skill was happy to oblige with a respectable kit of fast DDR3. This kit runs at a nominal 1600MHz, but features an XMP profile that sets it to run at 2133MHz with a CAS Latency of 9 at 1.6V. I'm not an aggressive memory overclocker, which makes the ready-out-of-the-box 2133MHz settings an easy way to score a little extra performance.
Our thanks to G.Skill for providing this memory.
Gigabyte G1.Sniper 5 Z87 Motherboard
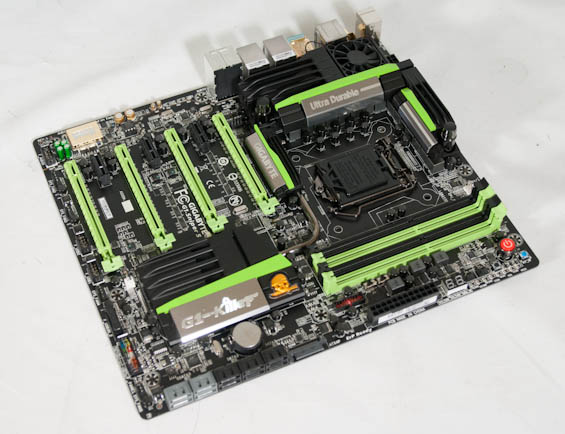
I remain of the opinion that the Z87 chipset is arguably the most compelling part of Haswell, and Gigabyte's high end gaming offering hammers that home. The G1.Sniper 5 features a PLX switch enabling full PCIe 3.0 x16 lanes for each of two video cards, or PCIe 3.0 x8 for up to four. Alongside that are an additional four SATA 6Gbps ports to go along with the six that come with the Z87 chipset, dual gigabit ethernet NICs with one provided by Intel and the other courtesy of Killer Networks, and Creative Sound Core3D with a user upgradeable OP-AMP. There's even an 802.11n dual-band PCIe x1 wireless network adapter bundled with the motherboard.
But what sells this board for our purposes is that it includes not only active cooling on the motherboard's 16-phase power circuitry, but a liquid cooling path built in. There are barbs on both ends of the heatsink that allow you to include the power circuitry in your watercooling loop.
Our thanks to Gigabyte for providing this motherboard.
Dual NVIDIA GeForce GTX 780 Graphics Cards
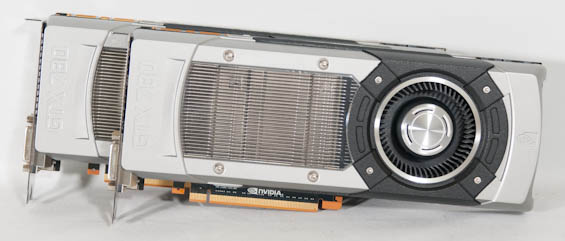
With AMD currently still having issues with multi-GPU surround performance, we were left going to NVIDIA for a pair of high end graphics cards. Two GeForce GTX 770s would've been stellar on their own, but the 780 is getting a healthy reputation as being a decent overclocker in addition to just being a tremendously powerful card on its own. 7.1 billion transistors and 2,304 CUDA cores are nothing to sneeze at, and the 384-bit memory bus connected to 3GB of GDDR5 running at 6GHz stock ensures that beefy engine stays fed.
The biggest shame about using these reference 780s is actually having to remove their stock coolers. NVIDIA did a fantastic job engineering these shrouds, which are both very beautiful and very efficient.
Our thanks to NVIDIA for providing this pair of graphics cards.
Originally published at https://www.anandtech.com/show/7363/the-neophytes-custom-liquid-cooling-guide-how-to-why-to-what-to-expect (Wayback Machine).