
The Google Mini - A look at Google's entry-level search appliance
- Posted in
- IT Computing
Scratching the surface
To provide hands-on experience, Google sent us a brand-new Mini with a license for 50,000 documents. As expected, we received a very complete package, including everything we needed to get our Mini up and running quickly, with minimal fiddling. Naturally, we wanted to take a peek at the Mini's insides, but Google is still not very keen on people trying to break into their systems. As we found in our prior review of the Mini, the case itself is solidly built, with exotic-looking tamper-resistant fasteners, and a large piece of plastic covers the top of the enclosure from front to rear, to inhibit removal .
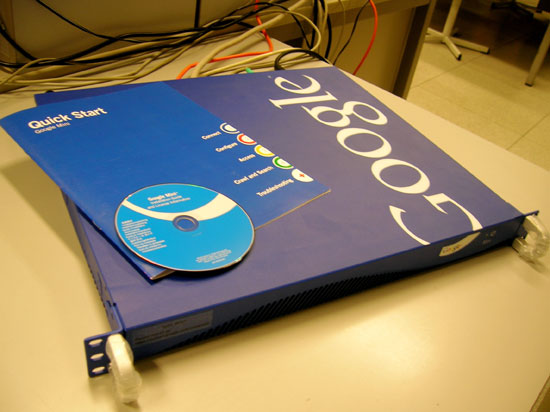
The current Mini is half its former size, and was delivered with everything we needed to get started.
The Mini's internals reveal that Google has made some changes since AnandTech's last look. The machine's current specs are as follows:
- Supermicro motherboard (P8SCT)
- Two 1GB modules of PC4200 DDR2 RAM, running at 533MHz
- A single 250GB Western Digital SATA2 Hard Drive
- A 280 Watt PSU
- A 3GHz Pentium 4 531 (Prescott core)
We questioned whether this hardware was the best choice for a search appliance, a point we touch on later on in the article.
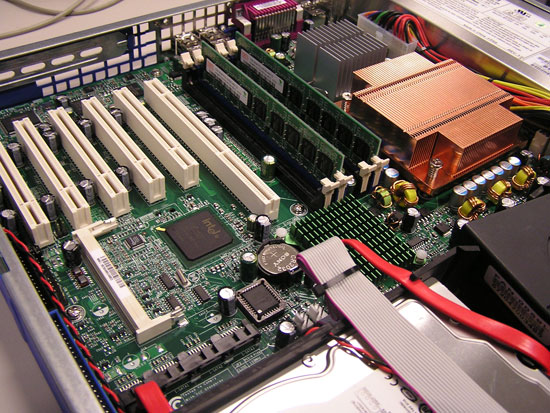
A closer look at what makes the Mini tick.
Unfortunately, our journey of discovery didn't take us beyond the hardware itself. Booting up the Mini, we were greeted with the bootup procedure of Red Hat Linux, which ended at a fitting blue login screen, leaving us completely locked out of the mysteries of what makes Google tick. Google understandably guards its technology carefully from prying eyes.
As before, when installing the Mini, the administrator connects the provided crossover cable to the Mini's admin port to perform initial configuration. This stage of setup is very simple; just assign the Mini a static IP address on the network it'll be crawling, and configure other general network settings. These steps require no special knowledge, since the provided Quick Start guide explains them very nicely. After completing these installation steps, the Mini's administration console is available over the network using a web browser for further configuration. Setting up the Mini's crawler was as simple as giving it some addresses to start from, and adding URL patterns to include and to avoid. For example, if we wished our Google Mini to crawl two separate webservers and a fileserver, we would give the Mini a hyperlink to the websites, and a samba-link (smb://) to the fileserver, and the crawler would get to work.
 Some links to the websites are all that is needed for the Mini to get started. |
Starting the Mini's actual crawl is as simple as that, but there are many options to provide detailed control. In our case, we let the Mini crawl some of the websites running at our lab, but found that we met the 50,000 page limit in a matter of hours, so we mainly settled for samba crawling in most of our tests.
Originally published at https://www.anandtech.com/show/2407 (Wayback Machine).