
Apple TV - Part 2: Apple Enters the Digital Home
- Posted in
- Mac
Unboxed and Setup
Setup is extremely simple; if you've got a TV with an HDMI input then you only need to plug in two cables: power and HDMI. DVI is supported but only if you have an HDMI to DVI cable, in which case audio would be passed over optical or stereo RCA ports. Your final option for display is over component where, once again, audio is sent over optical or RCA outputs.
We tested Apple TV with a Westinghouse 42" 1080p LCD over HDMI, giving us the easiest setup option. After connecting the HDMI cable, we plugged in power and the unit started up. There is no on/off button on the Apple TV itself, although you can put it in standby mode by holding down the Play button on the remote for 6 seconds. If you want to completely power cycle the unit, you'll have to yank out the power cord.
While the Apple TV boots the single LED on the front of the unit blinks amber; the actual boot process takes about a minute but in theory you'll only see it boot if there's a power failure. Apple TV allegedly runs a stripped down version of OS X, which should be quite useful for those interested in modding the unit.
Upon startup, we are greeted with a familiar Apple logo and then a very short video of iTunes content filling up the Apple TV. Much to our surprise, we got no sound during this process over HDMI. We actually had to turn off the Westinghouse display and turn it back on before we'd get audio. After doing that we got audio until the next time we had to power off the device, which as we mentioned before should be rare. We didn't have the problem if we used the dedicated stereo outputs on the Apple TV. We're not sure if this is a Westinghouse or an Apple problem, but for what it's worth we've never had this issue on any other devices.
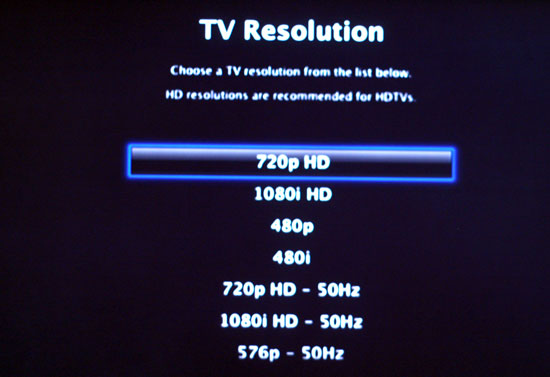
Over HDMI, the unit configured itself to a 720p output but over component it defaulted to 480i and asked us what resolution we'd like to use. Apple TV supports 480p, 576p 50Hz, 720p, 720p 50Hz, 1080i and 1080i 50Hz.
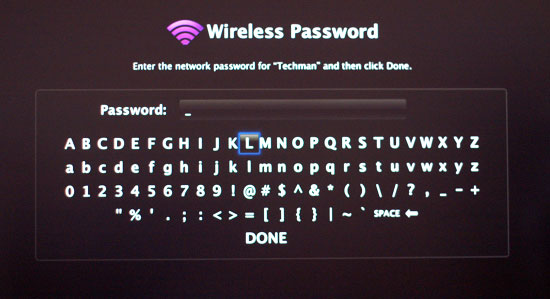
Getting connected is an equally simple process, as the unit had no problems discovering our 802.11n network. The wireless setup brings up an on-screen keyboard for you to supply a password if the network is encrypted, and although there are no options for selecting what sort of encryption is enabled the unit obviously had no problems figuring it out when it connected to our local Airport Extreme.
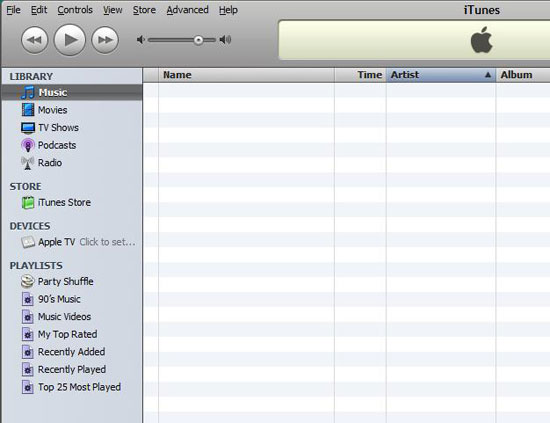
Once on a network, if you've got iTunes running on any computers on the network they will detect the Apple TV. The Apple TV will put up a five digit code to supply the first computer you'd like to connect it to; simply type that code in when iTunes asks for it and you'll establish a link between the two devices.
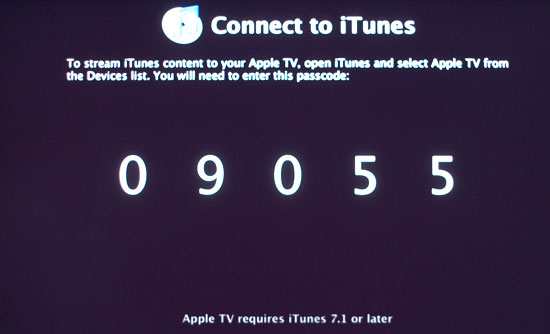
The setup process is identical between a Mac and a PC, and in our tests we had no problems with Apple TV - even on a Vista PC. The only real requirement is that you have at least iTunes 7.1 installed.
The only other problem we ran into during our initial setup of Apple TV had to do with a MacBook Pro we had in the same room. When we were using it, so long as the Apple TV remote had line of the sight to the MacBook Pro, our button presses on the remote brought up Front Row on the MacBook Pro. Putting the MacBook Pro to sleep didn't help as the button presses simply woke it back up. In the end we were forced to simply cover up the IR sensor in order to avoid accidentally playing back music on the MacBook Pro while we were testing the Apple TV. Word to the wise: use your Apple TV in a room where there aren't any other Front Row devices around.
Originally published at https://www.anandtech.com/show/2196 (Wayback Machine).