
Price-Point Comparing Three-Way Case Shootout
- Posted in
- Cases/Cooling/PSUs
Raidmax X1 (cont’d)
Turning the case more, we can see the relationship of the three main elements of the active cooling in the X1: the rear 120mm, the side-mounted 80mm, and the potential power supply fan(s).
Taking off the left side and peering into the chassis reveals a spacious interior delightfully void of any additional crossbars that could make installation difficult. Granted, bars like this are actually preferred by people more concerned with case stability and longevity, but in testing and handling, we still didn't get the impression that the X1 felt wobbly or weak by any means. One very minor strike against the X1, though, is that it doesn't support quite as many form factors as the P150, as one can tell by looking at the available holes for motherboard stand-offs, but the standard ATX sizes won't be any problem.
Turning the case more, we can see the relationship of the three main elements of the active cooling in the X1: the rear 120mm, the side-mounted 80mm, and the potential power supply fan(s).

Click to enlarge.

Click to enlarge.
Taking off the left side and peering into the chassis reveals a spacious interior delightfully void of any additional crossbars that could make installation difficult. Granted, bars like this are actually preferred by people more concerned with case stability and longevity, but in testing and handling, we still didn't get the impression that the X1 felt wobbly or weak by any means. One very minor strike against the X1, though, is that it doesn't support quite as many form factors as the P150, as one can tell by looking at the available holes for motherboard stand-offs, but the standard ATX sizes won't be any problem.

Click to enlarge.
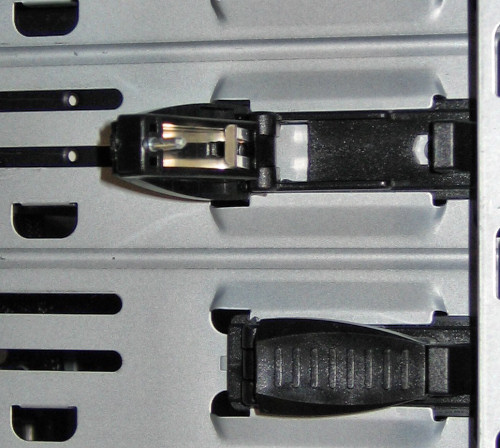

Click to enlarge.
Originally published at https://www.anandtech.com/show/1922 (Wayback Machine).