
Hardware Behind the Consoles - Part II: Nintendo's GameCube
- Posted in
- Systems
Disassembling the unit
|
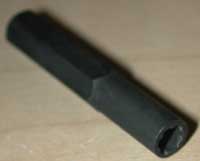
The GameCube is an extremely small unit whose size you can't fully grasp until you actually see it in person. Nintendo is very adamant about keeping people out of the box so you'll have to acquire a special bit in order to unscrew the four screws that hold the box together. This bit is sometimes referred to as a 'gamebit' (picture to the right) and a quick Google search will bring up a number of places where you can buy them. The bit should measure 4.5mm which is the same size as the one needed for the N64. If you have one that can open N64 cartridges that is a 3.8mm gamebit and won't work with the GameCube. As usual, we take no responsibility for any damage you cause your system by following these directions and doing this will void your warranty. |
 |
1) The first step is to unscrew all four of the screws using the gamebit. Lifting the cover off will reveal this:

In the above picture we've already removed the front and back covers which easily come off after the top is removed. The wires towards the back are for the fan which is pictured below:
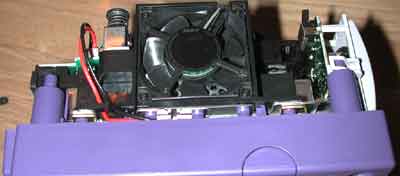
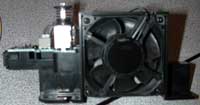
The fan assembly also comes out very easily and has the power connector and power switch on it as well.
2) Removing the mini-DVD reader will reveal the shielding over the motherboard, Gekko and Flipper. Unscrew the screws to reveal a large heatsink as seen below:

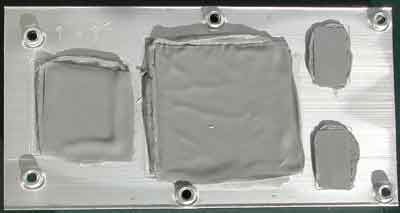
3) Next you'll want to unscrew the six screws that hold the heatsink in place; you may need a smaller screwdriver to do this since four of the screws are in between fins on the heatsink. The heatsink will then slide around and you should be able to pry it off. Be sure not to damage the PCB when prying off the heatsink; it'll come off, you just need to use a little force:
Originally published at https://www.anandtech.com/show/858 (Wayback Machine).