
Antec ISK 110 VESA Case Review: Just About As Small As It Gets
- Posted in
- Cases/Cooling/PSUs
- Mini ITX
- Antec
Assembling the Antec ISK 110 VESA
Given that there isn't a whole lot to the Antec ISK 110 VESA, you'd think assembly would be simple and straightforward. While it's straightforward, simplicity unfortunately isn't part of the equation; cramped quarters are never good for getting a system put together, and the ISK 110 VESA is incredibly cramped.
What you'll find very early on is that while it was nice of Antec to include motherboard standoffs (in Mini-ITX cases especially I'm mystified when a vendor doesn't), that power circuitry board is going to have to come out. The height and placement of the capacitors on the board ensure that the already tough squeeze caused by the bundles of cabling and the size of the case itself make it nigh impossible to actually get the board in. Thankfully the board is secured by two screws.
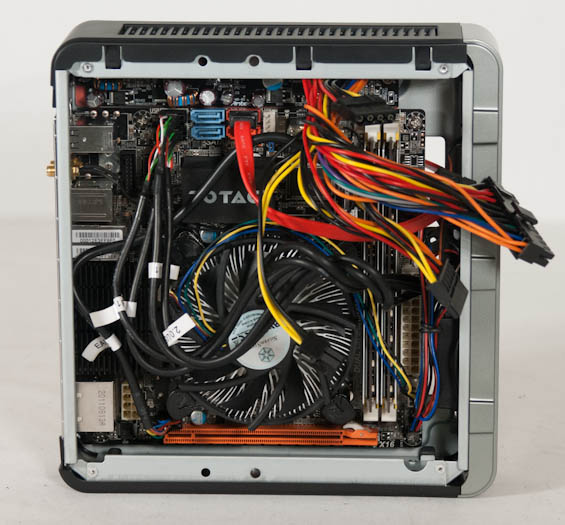
Unfortunately, this also means you're going to have to jimmy it back into the case after the motherboard has been installed. Because of the way the power board sits on the two mounting posts, it's incredibly easy to knock it off center and mess up trying to mount it again. If you're not steady, this could get frustrating in a hurry.


Connecting cables has almost never been as trying as it is in the ISK 110 VESA, either. You're going to be squishing and squeezing them around corners, over DIMMs, and pretty much just wherever you can get them, and this is all before you connect the internal power headers. That breakout cable is for the most part up to the task, but the four-pin AUX 12V header is way, way too short. It was designed for Mini-ITX boards with that connector in the top left corner, behind the I/O cluster, not in the top right like our testbed board. A visit to NewEgg reveals that there's no standard placement for this header on Mini-ITX boards; they're pretty much all over the map. As a result, I had to use an extension cable.
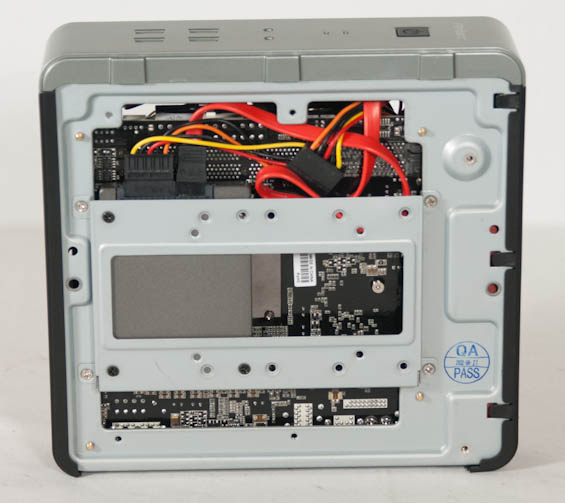
Thankfully all the excitement is happening on this side of the case; you can connect the needed SATA power and data leads and then jam them through the single gap left between the motherboard and the chassis to route them to the underside. Installing a 2.5" drive or two to the removable bracket is a breeze, and connecting the leads to the drive doesn't require too much finesse.
Where I'll admit to being surprised is that after looking at the cable spaghetti (and be absolutely certain there are no wires obstructing the fan on the heatsink) I wasn't sure I'd even be able to jam the top of the ISK 110 VESA back on. The bottom went back on easy enough, but there isn't a whole lot down there. The extruded ventilation of the top panel is much more spacious than it appears, though, and closing up shop proved to be much easier than I had anticipated.
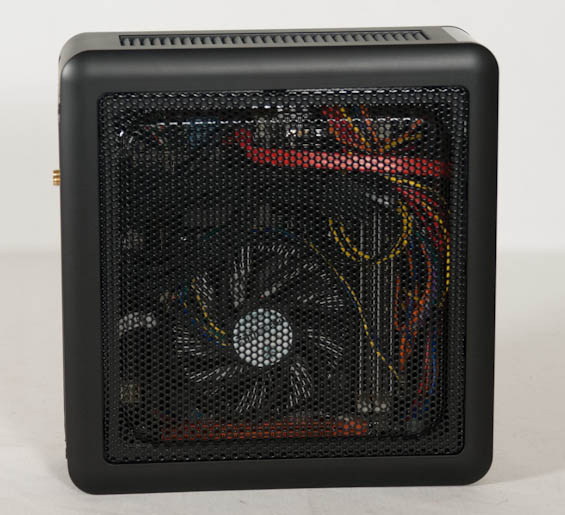
A finished system in the ISK 110 VESA just isn't going to be that attractive; even Puget Systems had a hard time keeping the cabling straight and clean with the two Echo systems they sent us for review. What matters most is just keeping the fan blades on the heatsink clear, since that's the only active cooling your entire system is going to have.
Originally published at https://www.anandtech.com/show/6192/antec-isk-110-vesa-case-review-just-about-as-small-as-it-gets (Wayback Machine).