
NZXT Switch 810: When Too Much Isn't Enough
Assembling the NZXT Switch 810
Thankfully, putting together a system inside the NZXT Switch 810 is fairly simple and run-of-the-mill. It's a sizable case, but at 20 pounds it isn't woefully unwieldy either. I was disappointed to see the motherboard standoffs weren't pre-installed. This is a little thing and only takes a minute or two, but it's a courtesy some of the other case manufacturers include and I wish NZXT had as well. Popping the I/O shield in was a little more difficult than usual, but that's due to how malformed it is from having been inserted into and removed from twenty cases. Actually installing the board was fine, though, as was wiring everything up.


Installing the drives was easy, too. The bezel for the 5.25" bay pops off without any hassle, and then from there you can slide the optical drive in, lock it into place, then pop the bezel back on. I was impressed at how well the button on the bezel lined up with the drive. Our 3.5" drive pops into a toolless drive tray, but I'm not a huge fan of NZXT's trays: they're flexible in the wrong ways, can be difficult to actually remove, and the pins don't go in as easily as I'd like. Getting our 1TB Western Digital drive in took a bit of force. Thankfully, the 2.5" drive goes in the same way they always do (mounted to the bottom of the drive tray with four screws), but here also lies a problem: the connectors on the back of the drive don't line up with the 3.5" drive above it. Instead, the 2.5" drive is recessed due to how it mounts on the tray. Cabling one while 3.5" drives are installed around it may be a minor nuisance.
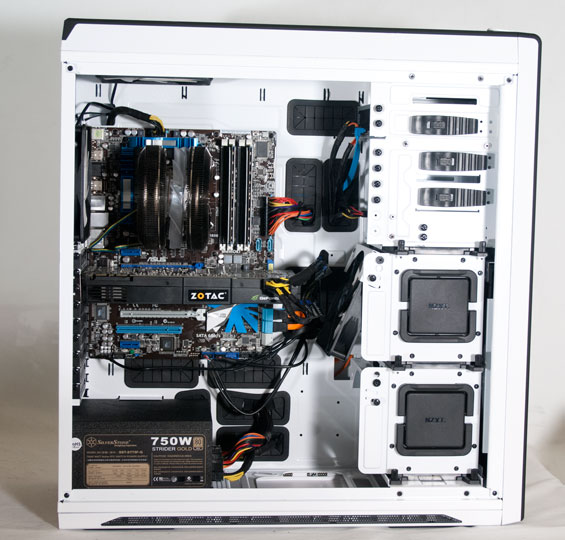
Finally, installing the video card and power supply was as easy as you'd expect with a full-tower case, and our GTX 580 offered plenty of clearance for the directional internal fan mounted to the drive bay behind it.
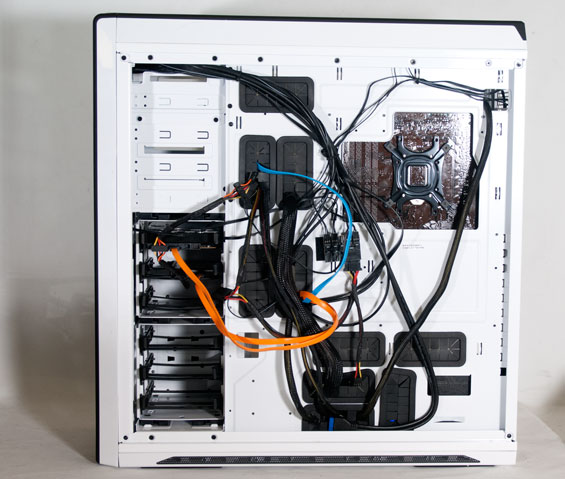
Cabling things was also easy, but it should be mentioned that many of the modular cables we use with our SilverStone power supply were stretched close to their limits. NZXT includes an extension cable for the AUX 12V line (and with all that headroom above the motherboard that line has never been easier to connect), but be forewarned that if you go with the Switch 810 you may need some extensions depending on your power supply.
Our build wound up being reasonably clean, and while I would've appreciated maybe an extra millimeter or two of space behind the motherboard tray, there's still a reasonable enough amount. The side panels didn't require any real pressure to replace. Basically, so far so good: the case is easy to build in and feature rich. So how does it perform?
Originally published at https://www.anandtech.com/show/5479/nzxt-switch-810-when-too-much-isnt-enough (Wayback Machine).