
Apple's Mac Pro - Upgrading CPUs, Memory & Running XP
- Posted in
- Mac
Upgrading the Mac Pro's CPU
Now that Apple has completed the switch to Intel based processors, upgrading your CPU is a much cheaper and more accessible option for Mac users. In the past, upgrading your CPU required visiting an Apple specific vendor and paying quite a bit for a processor since the demand was honestly quite low. Now, with the Mac Pro and any other Intel based Mac that has a socketed processor an upgrade is just as easy as a trip to Newegg.
The Mac Pro we ordered was the slowest 2.0GHz configuration, since we wanted to try and upgrade it to faster parts to see if it was possible. By opting for the slowest CPUs, you can buy a cheaper overall computer and simply throw in faster CPUs once they drop in price - assuming the upgrades work of course.
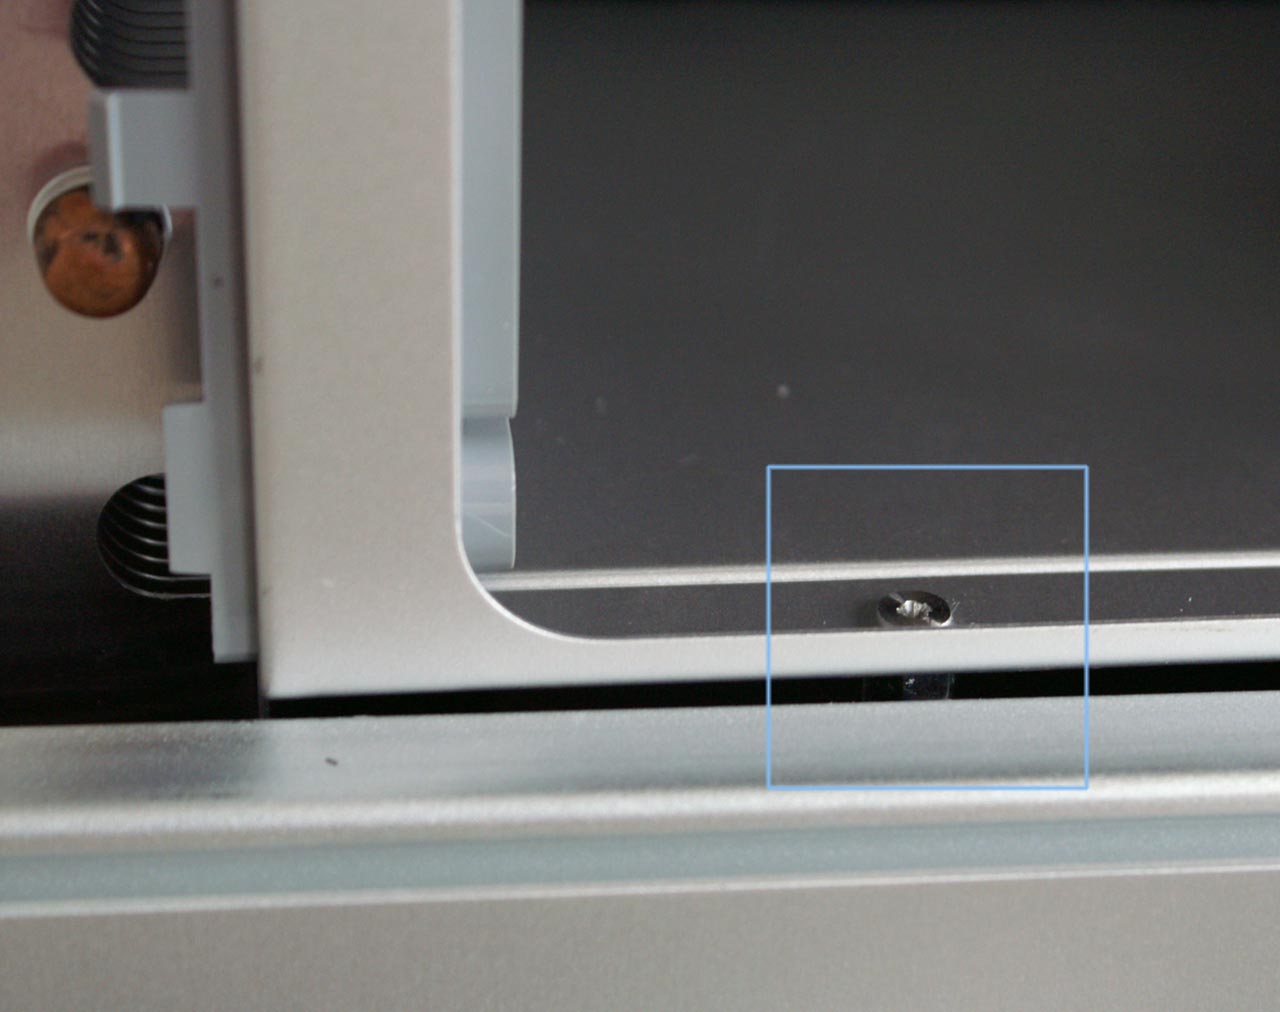
By far the biggest problem with upgrading the CPUs in the Mac Pro is gaining access to them. While Apple made it very easy to upgrade memory, storage and PCIe cards in the Mac Pro, getting access to the CPUs is considerably more difficult. The entire process would be made much easier if we were able to remove the memory cage, but as we mentioned in our last article the standoffs that the cage is screwed into would not remain in place while we unscrewed the cage. To make a long story short, we weren't able to remove the memory cage without stripping the screws that held it in place, so we had to come up with an alternative solution; luckily we were able to do just that.
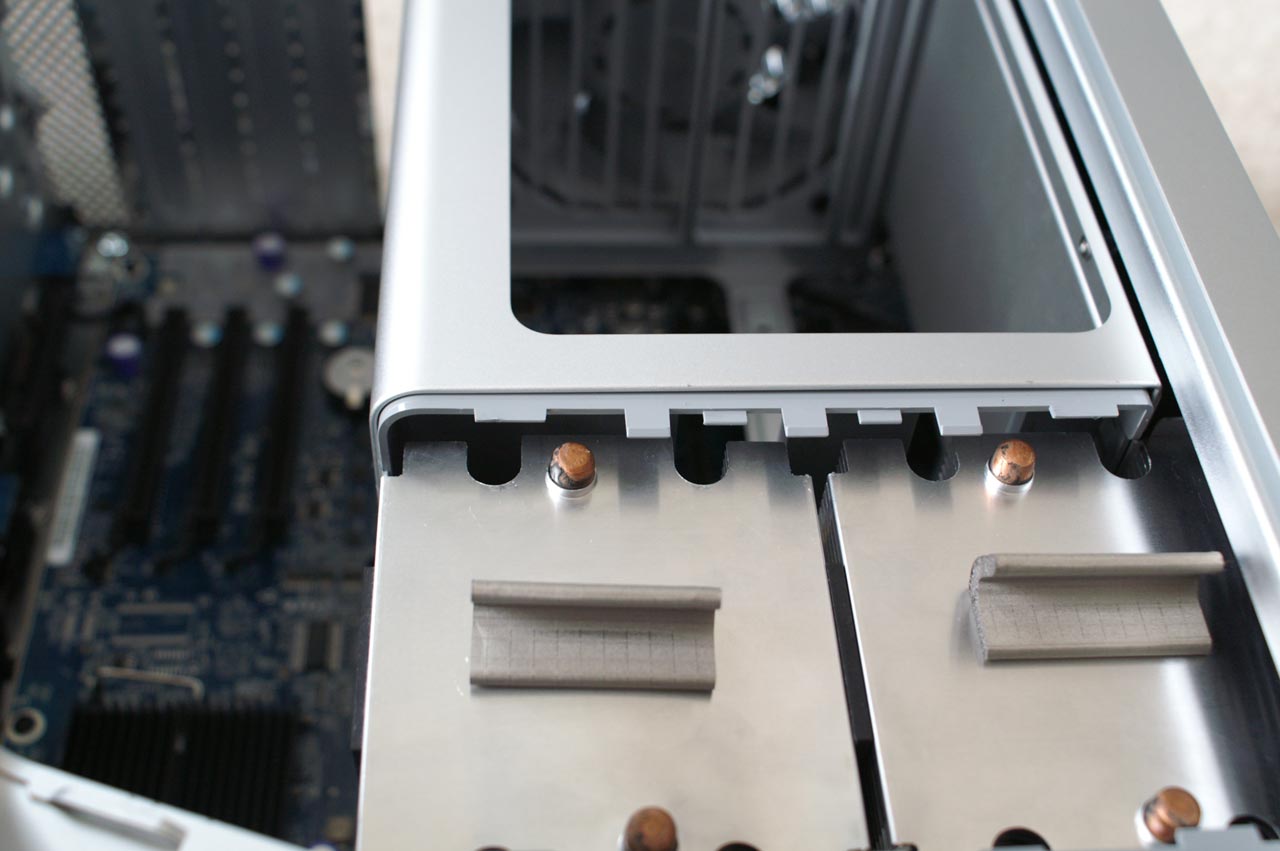
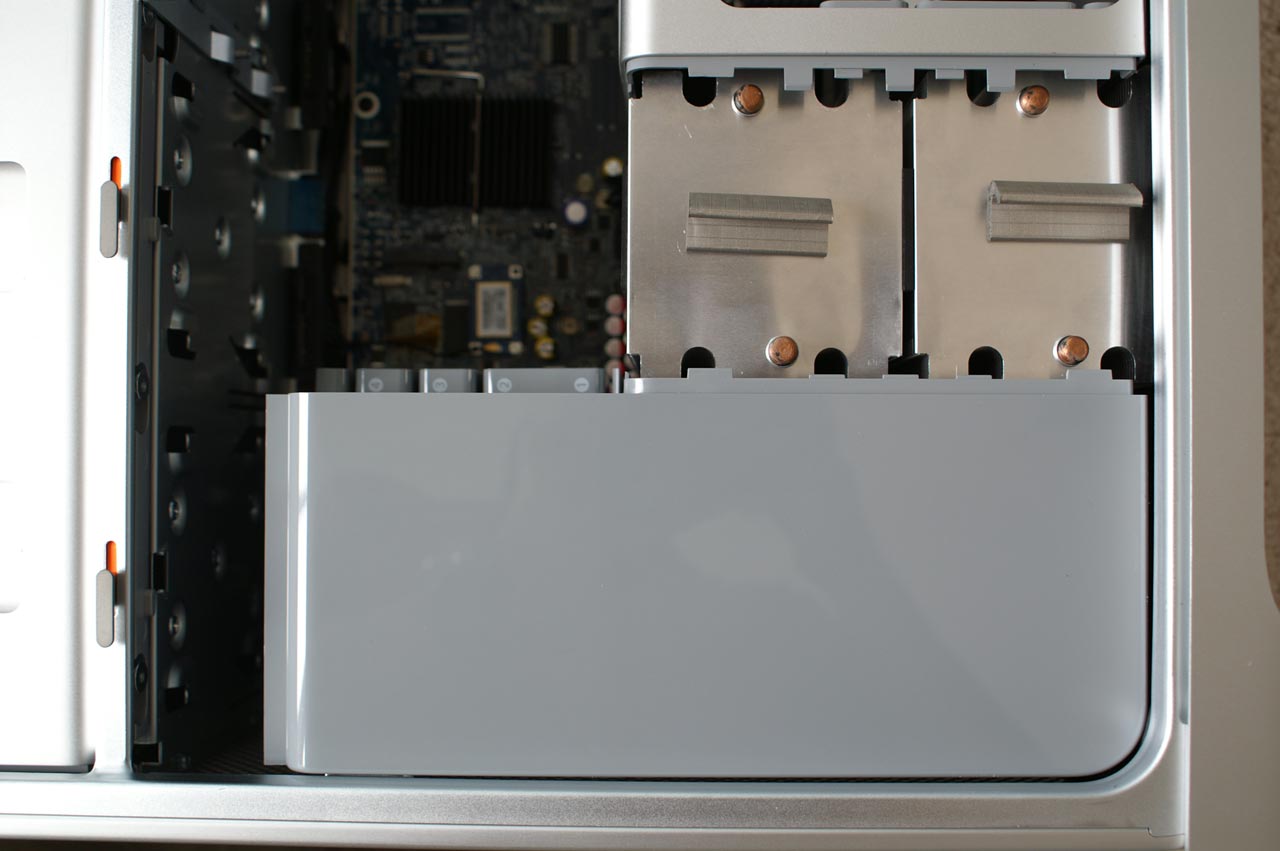
The first step is to remove the heatsink cover, which has latches along its sides that the fan assembly and part of the memory cage hook up to. With the memory cage in place, your only option is to pull back on the memory cage to unlatch it from the heatsink cover and slowly pull/rotate the cover off. This process is made somewhat easier by removing the two screws that attach the memory cage to the motherboard, since it allows the cage to move a little more freely. Obviously you'll want to remove both memory risers before doing this, but simply pulling the cage back towards the rear of the case and pushing the heatsink cover in the opposite direction should let you unlatch it.
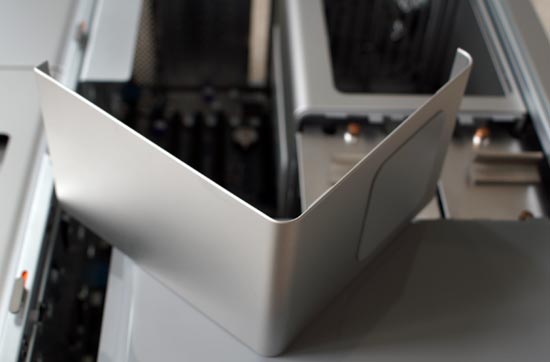
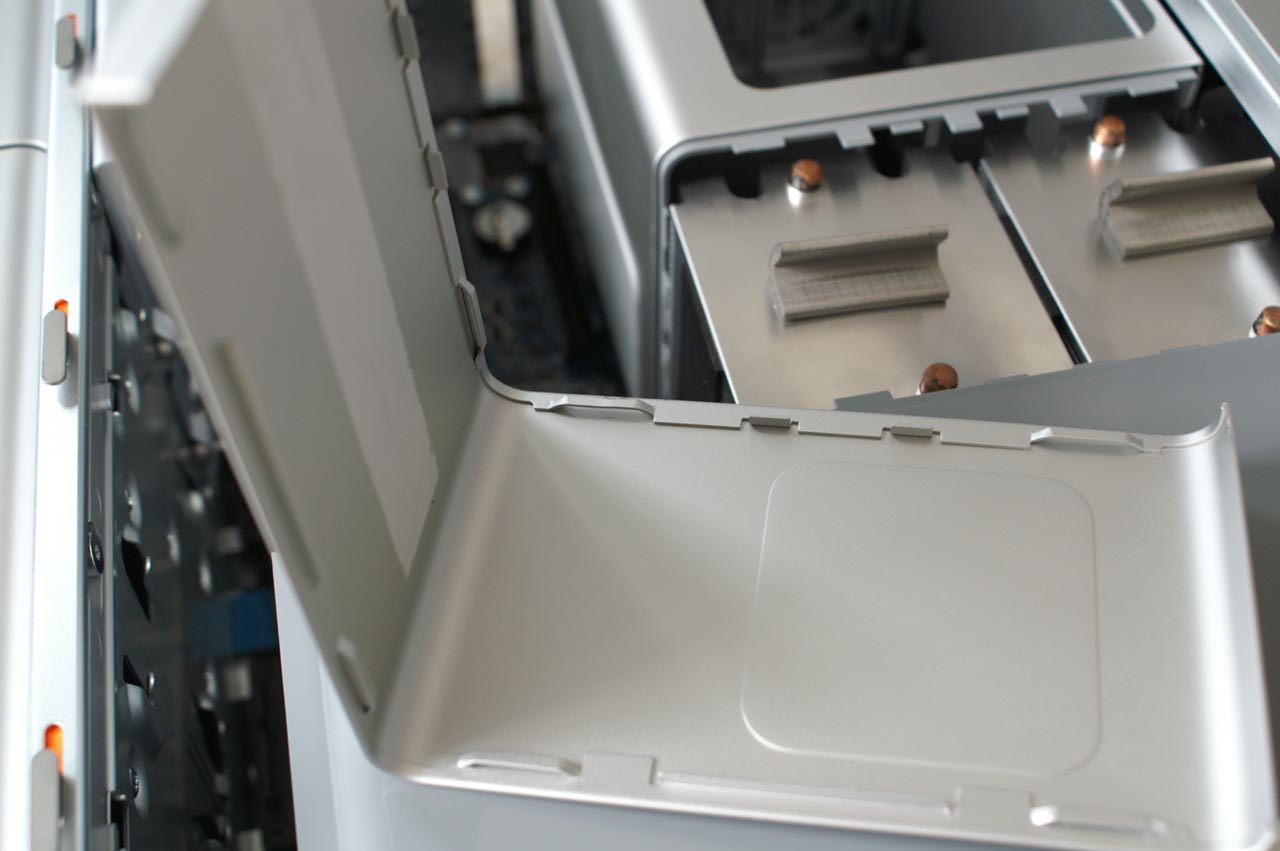
With the memory side of the heatsink cover unlatched, simply pull it away from the fan assembly being careful not to break the latches. After you've done this, the Xeon heatsinks should be exposed.
Originally published at https://www.anandtech.com/show/2079 (Wayback Machine).