
Apple's Mac Pro - A True PowerMac Successor
- Posted in
- Mac
The grey cover to the left of the chassis is actually the fan assembly, it features two 120mm fans designed to cool the CPUs and the rest of the chassis. There is another fan located near the power supply at the top of the case that is not visible.
To remove the fan assembly you need to remove the CPU heatsink cover to the right of it. To remove the heatsink cover you need to remove the memory cage, and to remove it you need to remove two screws at the base of the memory cage. Unfortunately, neither one of the screws wanted to move without also turning the metal standoff below it (a problem all DIYers have run into at some point).
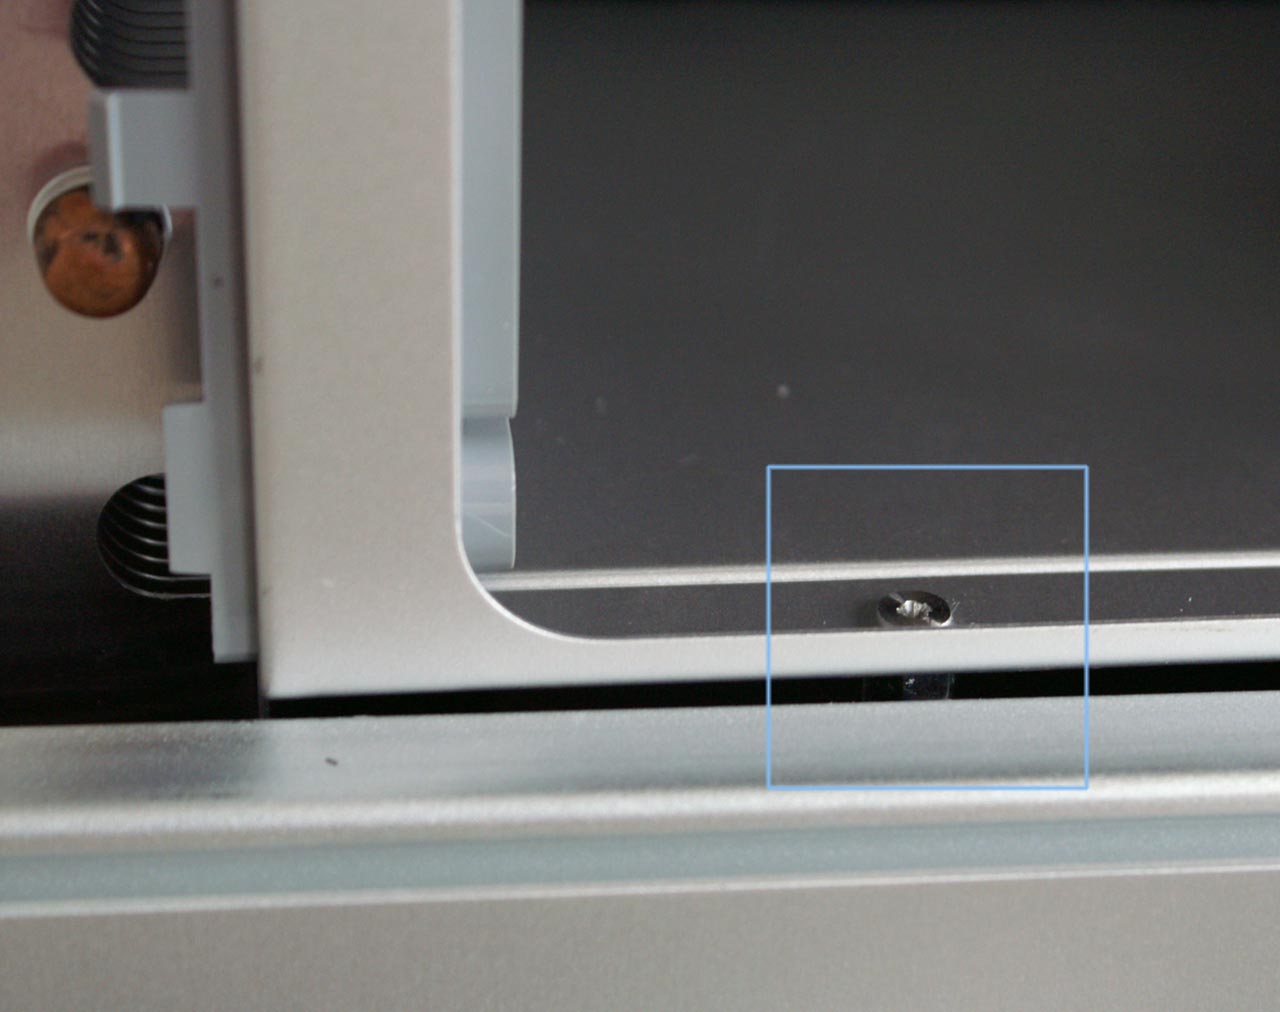
There's not enough room between the base of the memory cage and the bottom of the case to get pliers in to hold the standoff while we unscrew the screw, so we were stuck. We tried removing the screws with standoffs attached but we could not apply enough torque without stripping the screws and thus had to find another solution.
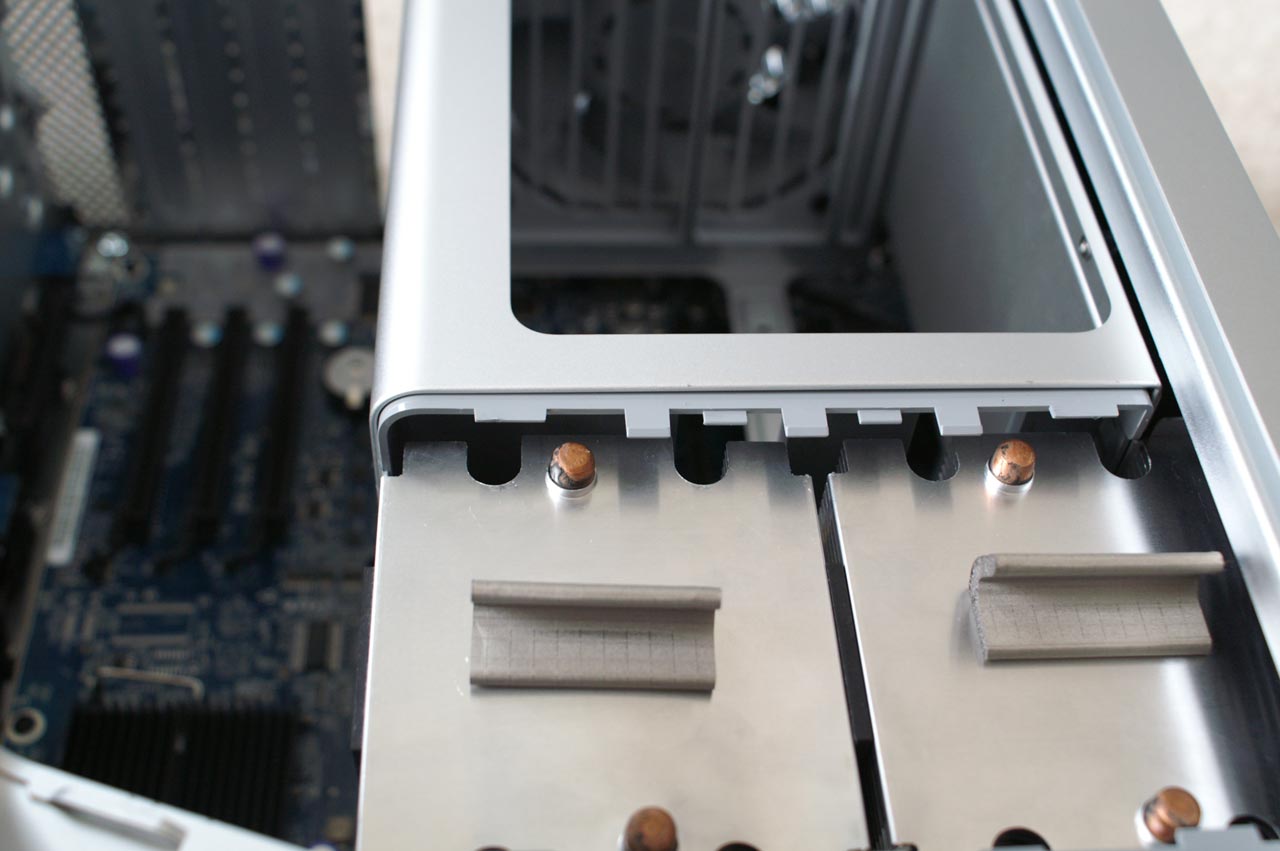
Luckily there was enough play in the mounting of the memory cage that we could slide it back enough to unlatch the heatsink cover and remove it. Amazingly enough we could do so without breaking any of the latches.
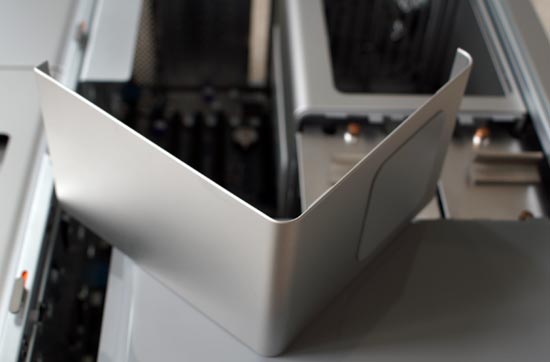
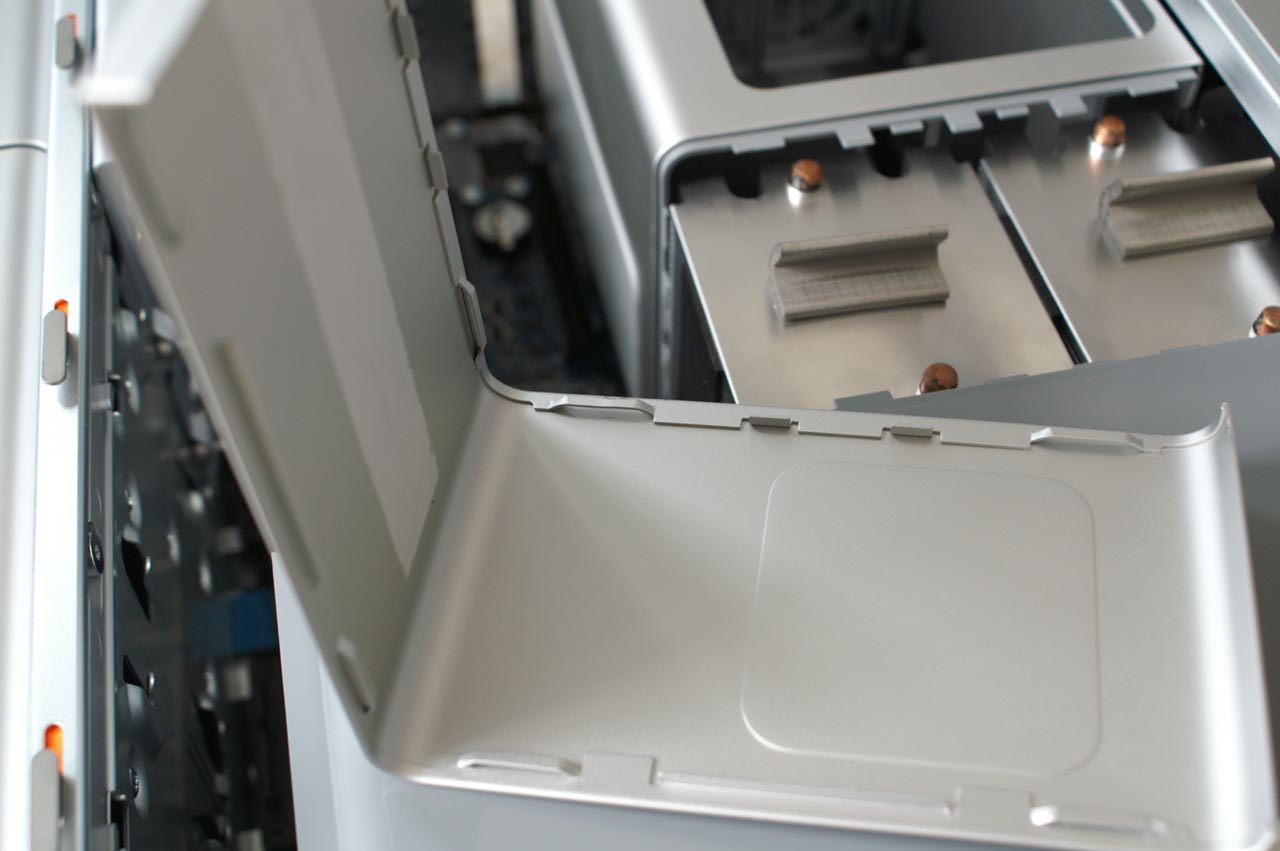
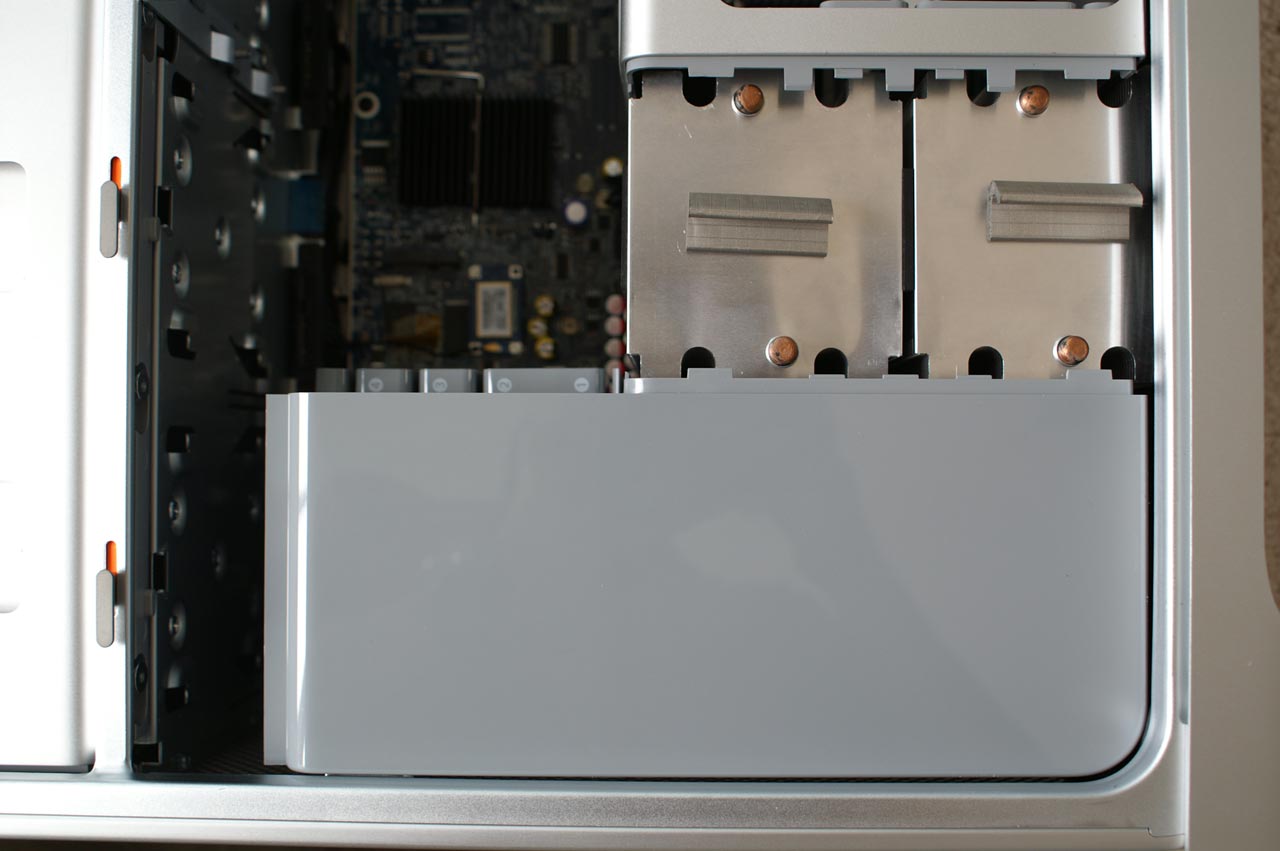
With the heatsink cover removed, we could pull out the fan assembly (a flexible putty knife helps here to pry the fan assembly away from the front of the case while you pull it out).

Originally published at https://www.anandtech.com/show/2064 (Wayback Machine).