
Clash of the Titans - TT Tai Chi vs. CM Stacker 830
- Posted in
- Cases/Cooling/PSUs
Thermaltake Tai Chi (cont’d)
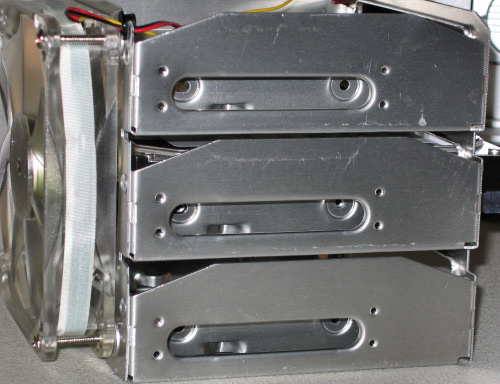
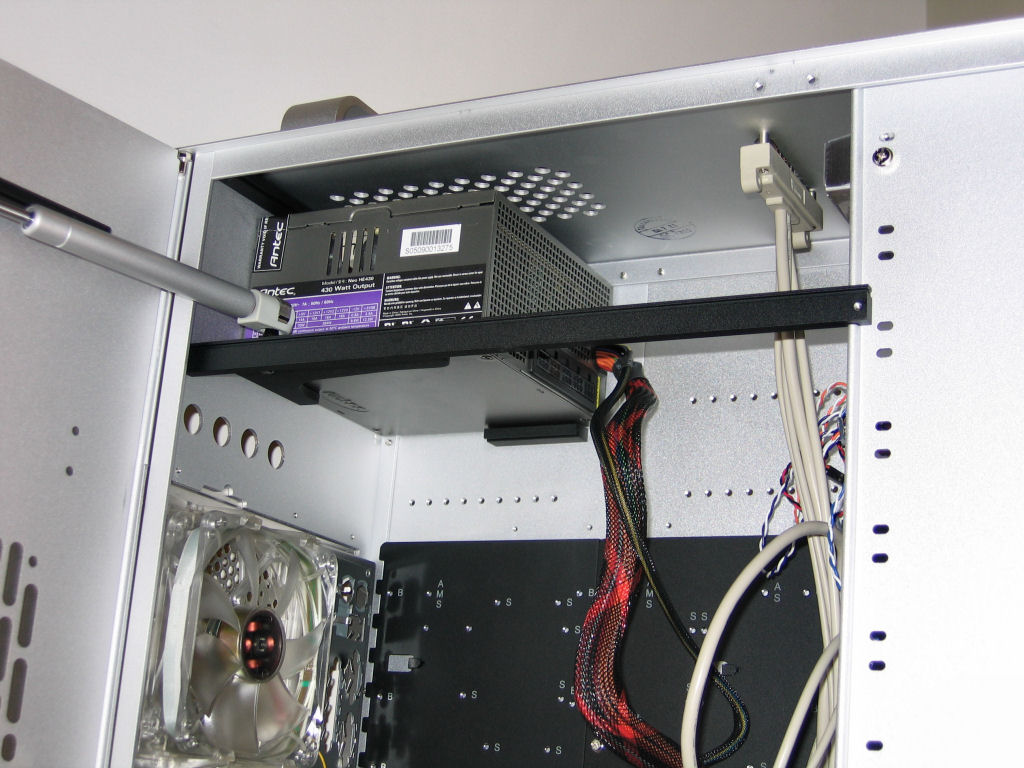
The Tai Chi doesn't really do anything too out-of-the-ordinary when it comes to its components, and, in fact, is very similar to the hugely popular Armor and Kandalf cases released previously. For instance, the hard drive cage with attached 120mm blue LED fan is identical; however, this means that it inherits the not-so-appealing trait of requiring either a magnetic screwdriver or simply a little patience to secure drives in the cage with standard bolts.
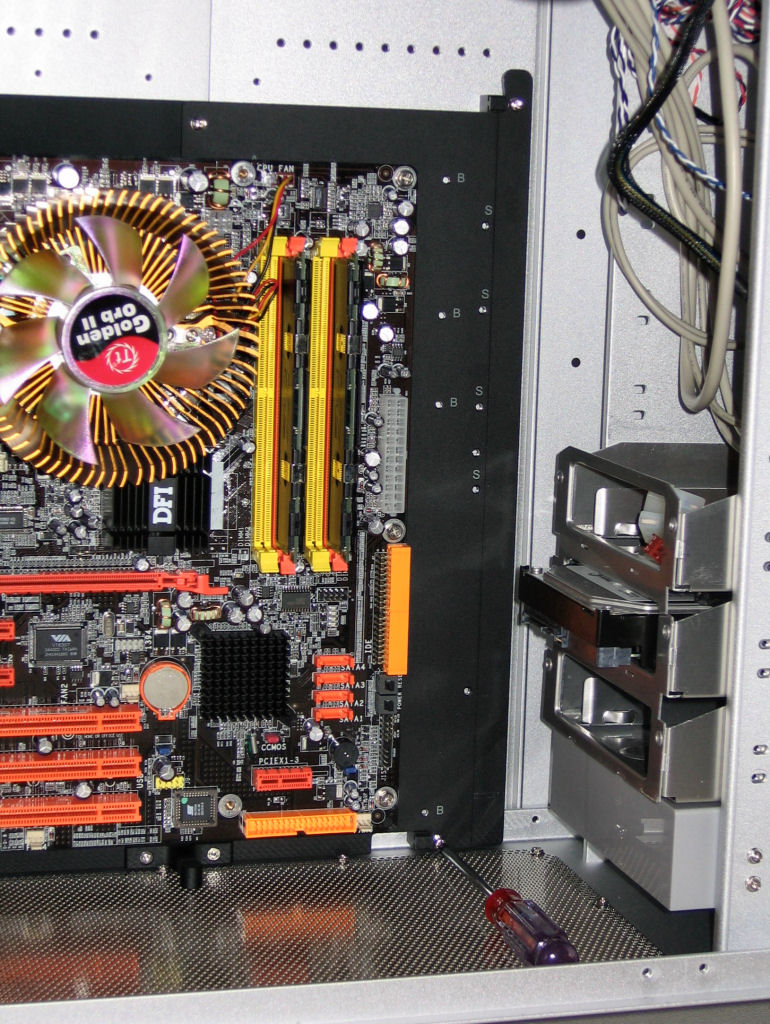
Moving downwards, we find the Tai Chi's motherboard tray. This concept is simple, but the Tai Chi executes it slightly differently than previous incarnations, with it only being the plate itself instead of the plate plus back of the case. This is what allows the change from an ATX to a BTX style to be relatively simple – only the rear needs to change.
After putting the motherboard on the tray, putting it over the standoffs, and sliding it towards the back, two screws (one at the top and one at the bottom) are used to keep the tray from sliding forward.
The Tai Chi doesn't really do anything too out-of-the-ordinary when it comes to its components, and, in fact, is very similar to the hugely popular Armor and Kandalf cases released previously. For instance, the hard drive cage with attached 120mm blue LED fan is identical; however, this means that it inherits the not-so-appealing trait of requiring either a magnetic screwdriver or simply a little patience to secure drives in the cage with standard bolts.
Click to enlarge.
Moving downwards, we find the Tai Chi's motherboard tray. This concept is simple, but the Tai Chi executes it slightly differently than previous incarnations, with it only being the plate itself instead of the plate plus back of the case. This is what allows the change from an ATX to a BTX style to be relatively simple – only the rear needs to change.

Click to enlarge.
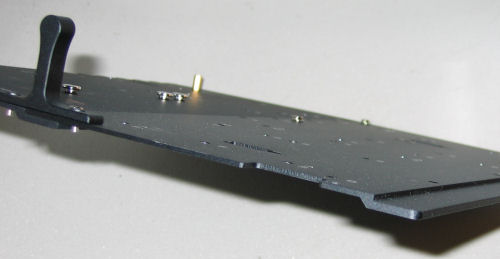
After putting the motherboard on the tray, putting it over the standoffs, and sliding it towards the back, two screws (one at the top and one at the bottom) are used to keep the tray from sliding forward.
Click to enlarge.
Originally published at https://www.anandtech.com/show/1953 (Wayback Machine).