Archive 1997–2024

HTPC 4-Way Roundup

3R Mstation HT-1100 (cont’d)

To begin the installation of our test bed, we first attached the mounting plate to our modular power supply, and then secured the plate with an attached PSU to the exhaust duct with two screws.


Click to enlarge.
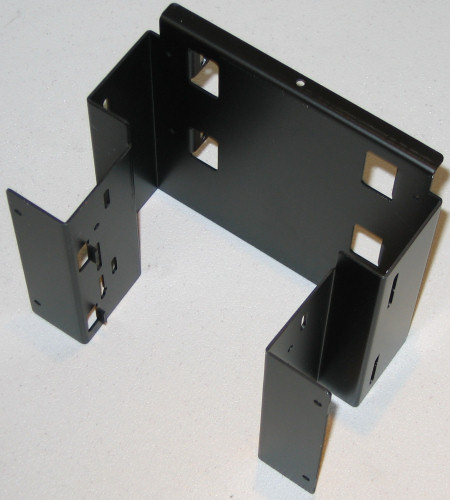
Compared to other cases in this roundup, this power supply install was just as easy, but unfortunately, if any switches are on the back your power supply, as is the case with ours, they will be virtually inaccessible once the unit is installed. We were able to put our MadDog unit in “quiet mode” by barely removing the supply (enough to push the switch with a thin screwdriver) while the unit was running, but it wasn’t a “user friendly” move by any means.

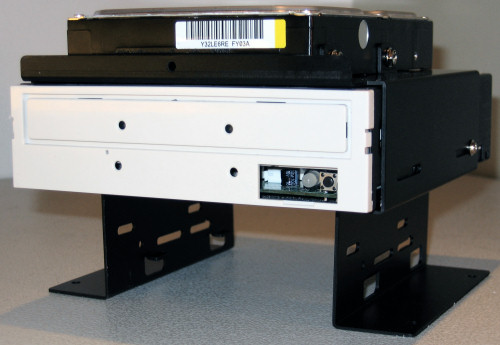
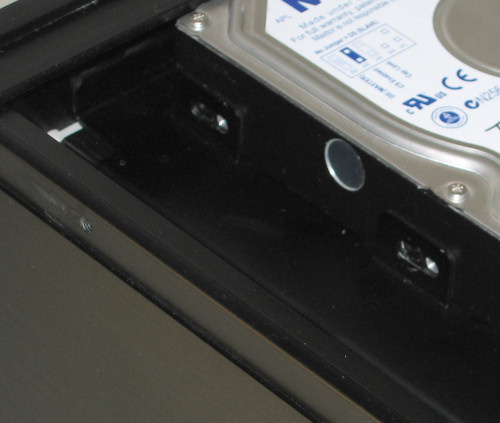
Next, we placed our optical drive and hard drive into the drive cage, only to realize that it’s actually much simpler to put the hard drive in after the cage and optical drive have been installed into the case.

The only downside to this approach, however, is that the mount points on the right side of the hard drive become almost impossible to get at, but if cable routing isn’t a problem between the cage and the power supply, the hard drive could go into the bottom position as well. One would just have to be sure that it doesn’t get too close to the motherboard to make cable attachments difficult.

An oddity of our DFI motherboard is that the board only has one IDE channel connector, and it’s lined up along the side of the board, making installation into same cases particularly difficult. In the HT-1100, it is pretty much impossible to install the DFI board with an IDE drive, so we used our serial ATA optical drive and hard drive instead.


Click to enlarge.

Other than our side-mounted IDE channel, the full-size ATX board fits without any problems. One snarl that we did run into, however, was that we had to remove the single 70mm exhaust fan before the motherboard could be laid down. This probably wouldn’t have been an issue had we installed the motherboard before the other components, but it wasn’t that big of a deal anyway.


Click to enlarge.

The final steps of installing our video card and connecting all the cables were easy enough, thanks to the familiar layout and abundant space inside the Mstation. Even our rather large Golden Orb II cooler fits without problems. All in all, the install process in the HT-1100 is smooth, straight-forward, and simple.


Click to enlarge.

In addition to the chassis, this case comes with a remote to control common routines in Windows Media Center Edition.


Click to enlarge.

The remote has more than enough features to get the most out of your HTPC, and the cursor controller pad in particular has a nice layout for the best ease-of-use.


Click to enlarge.


Originally published at https://www.anandtech.com/show/1868 (Wayback Machine).