Archive 1997–2024

HTPC 4-Way Roundup

ThermalTake Tenor (cont’d)

Getting away from the front, we find that the Tenor keeps a relatively simple look for the rest of the case. Extra ventilation is situated over the CPU and video card, which certainly seems to make sense.


Click to enlarge.

A head-on shot of the back reveals the major difference of the Tenor in plain view; the power supply is not in the front of the case at all as it was in the other HTPC cases that we’ve looked at so far.


Click to enlarge.

Before diving inside the Tenor, here is one of the feet of the case. Just like most HTPCs, with nice looking feet, the case should fit much better when placed with other pieces of equipment.


Click to enlarge.

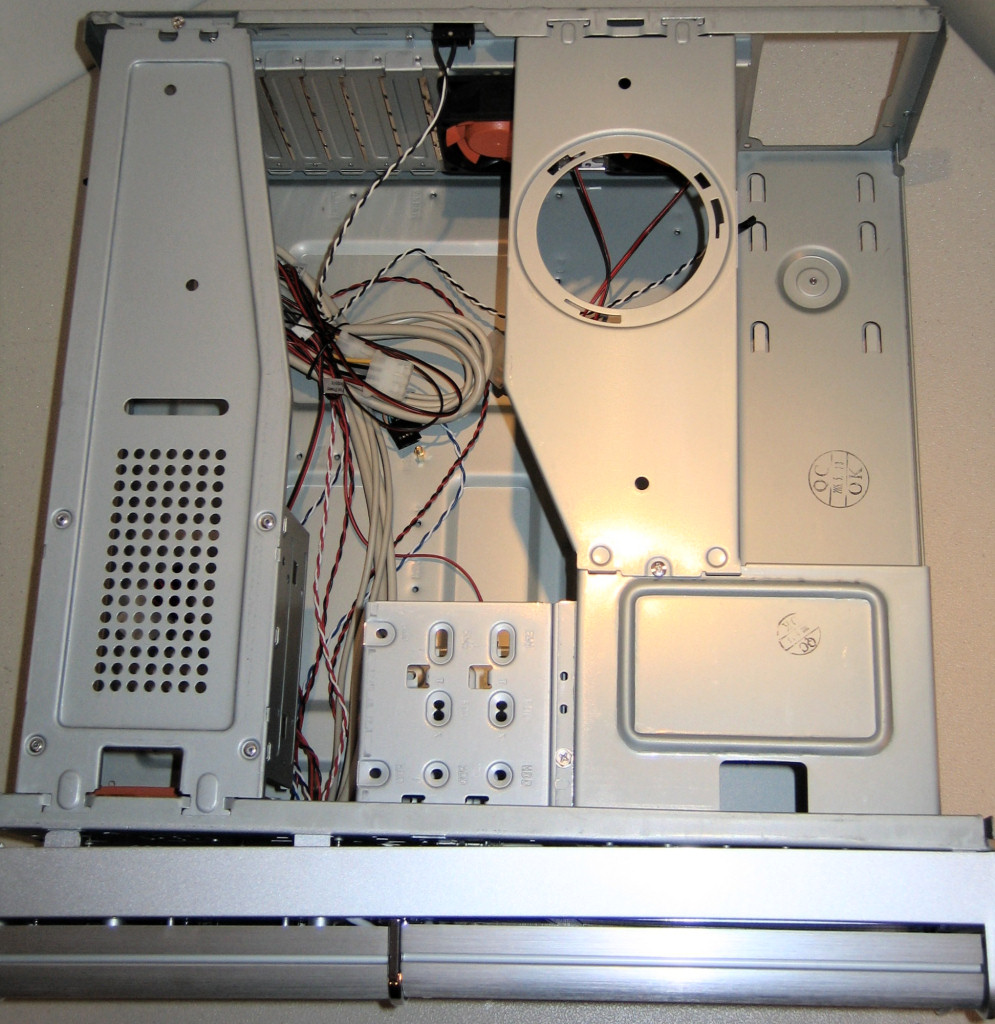
Taking off the three-side cover reveals a complicated bracing and drive cage layout, but without the side panels and after the removal of the braces, this actually becomes a very easy case in which to work.


Click to enlarge.

The entire front of the case comes away as well, and in this angle shot here, we can get a better idea of how this case is constructed. One nice aspect that we noticed at this step is that all the cables from the front go through one hole, which has been rounded out carefully.


Click to enlarge.

Taking the two braces away and focusing on the front, we find the three 5¼” drive bays and triple 3½” bay (two of which are externally accessible). To actively bring in cooler air, one 80mm fan is located here as well, but we couldn’t help but notice that there aren’t enough ventilation holes to cover the area of the fan’s blades.


Click to enlarge.

And here, we can finally see just how open the Tenor can get. Looking at the back, it actually looks much more like a typical ATX case, just turned on its side, with two 70mm Thermaltake fans taking care of exhausting the majority of the warm air from the case.


Click to enlarge.


Originally published at https://www.anandtech.com/show/1868 (Wayback Machine).