
HTPC 4-Way Roundup
- Posted in
- Cases/Cooling/PSUs
Lian Li PC-800B (cont’d)
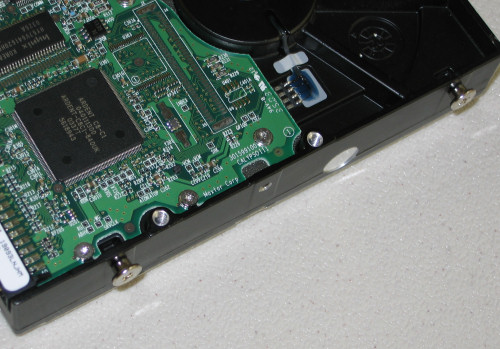
To secure the hard drives, special screws are screwed into the drive so that it can be simply slide into position along the rails on the right side.
Since the power supply will cover up the connection point for our IDE cable, we decide to route that first.
The next step is to secure the power supply mounting plate to our MadDog PSU, which is of course completely painless.
Now, with everything else under the PSU in place, the power supply can be set in place. This is the only slightly tricky step in the setup of the PC-800, and even that isn’t really too bad, but some power supplies or motherboard configurations could make it more difficult than others. For instance, our modular unit makes the power cable routing after the PSU has been set in place much easier.
Rather than having to punch out PCI slot covers, the PC-800’s are simply held in place by the same nice thumbscrews that one can use to hold down expansion cards. Installing our 6600GT video card was problem-free.
After finishing the final connections to the two rear exhaust fans and front panel connectors, the build was complete and looked something like this:
To secure the hard drives, special screws are screwed into the drive so that it can be simply slide into position along the rails on the right side.

Since the power supply will cover up the connection point for our IDE cable, we decide to route that first.
The next step is to secure the power supply mounting plate to our MadDog PSU, which is of course completely painless.
Now, with everything else under the PSU in place, the power supply can be set in place. This is the only slightly tricky step in the setup of the PC-800, and even that isn’t really too bad, but some power supplies or motherboard configurations could make it more difficult than others. For instance, our modular unit makes the power cable routing after the PSU has been set in place much easier.
Rather than having to punch out PCI slot covers, the PC-800’s are simply held in place by the same nice thumbscrews that one can use to hold down expansion cards. Installing our 6600GT video card was problem-free.
After finishing the final connections to the two rear exhaust fans and front panel connectors, the build was complete and looked something like this:
Originally published at https://www.anandtech.com/show/1868 (Wayback Machine).


