
Aspire X-QPack: A Lanparty Dream
- Posted in
- Cases/Cooling/PSUs
Internal Design cont'd
To get everything into a case this size, the manufacturer has to be pretty clever when it comes to the layout for each component. After taking out the power supply, the next piece you want to take out could be the hard drive cage. The cage on the X-QPack is held in place by two rails and two screws, visible in this close up.
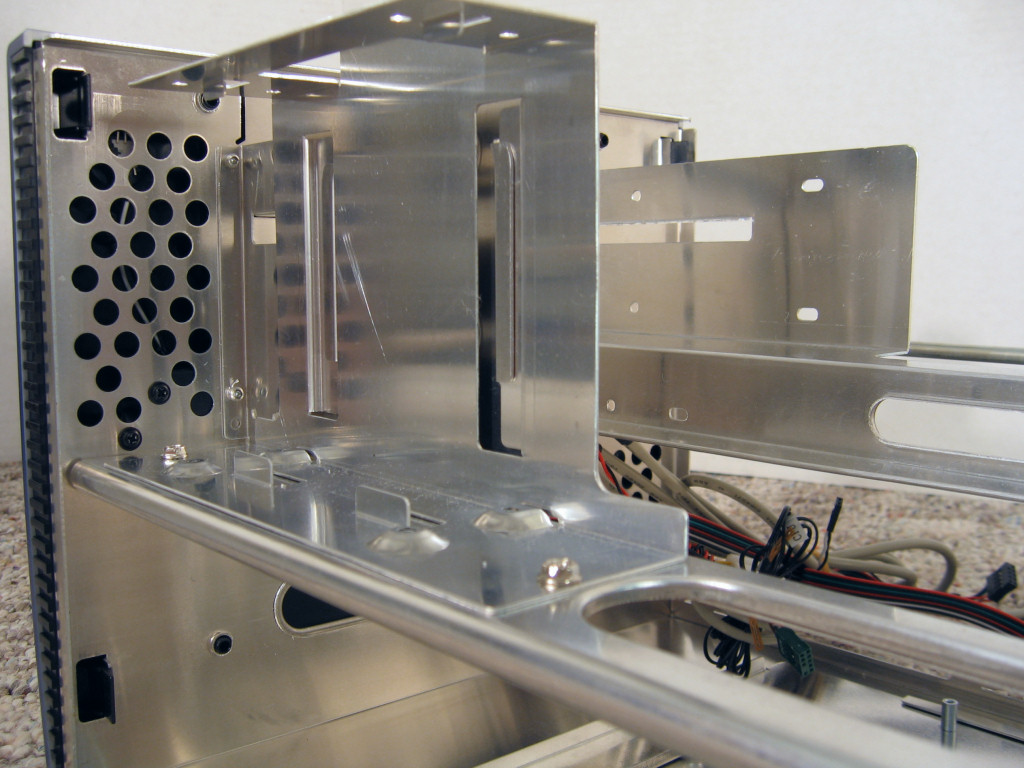
Click to Enlarge
If one didn't want to put screws holding the hard drives into the cage on both sides, there's actually just barely enough room to get both drives into place without removing the cage.
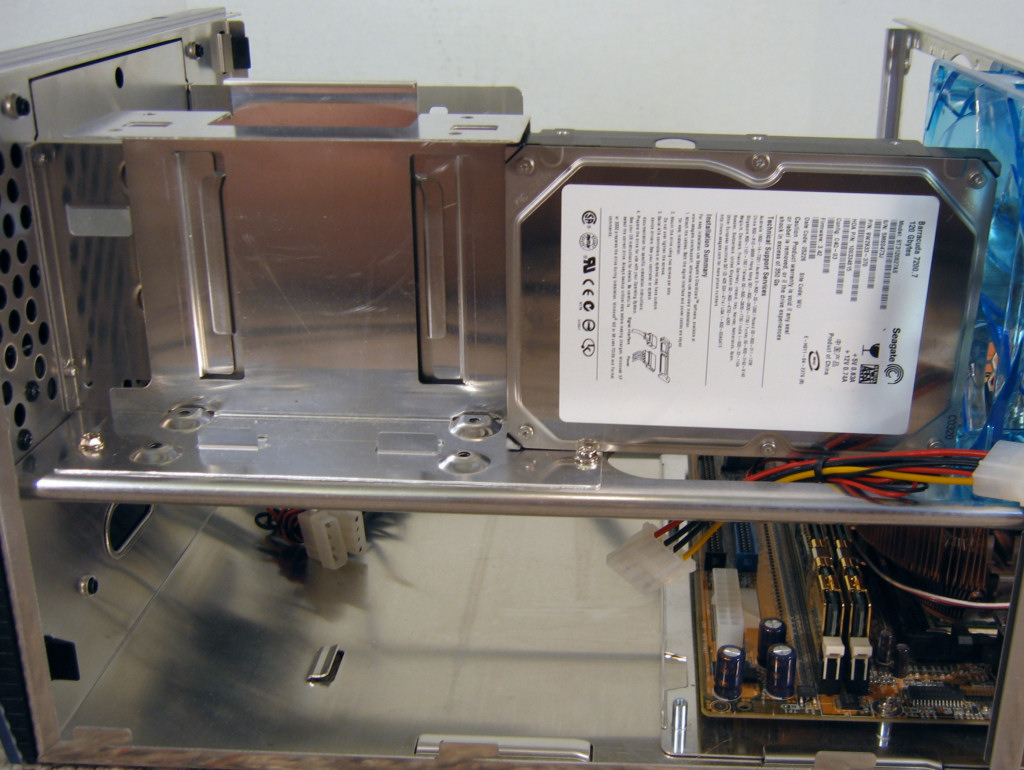
Click to Enlarge
With the hard drive secured the cage we took one more shot so you could see how to get the screws in on this side of the 5.25" mounting brackets. You can also see the rails that help make the removal and install of the HD cage so easy.
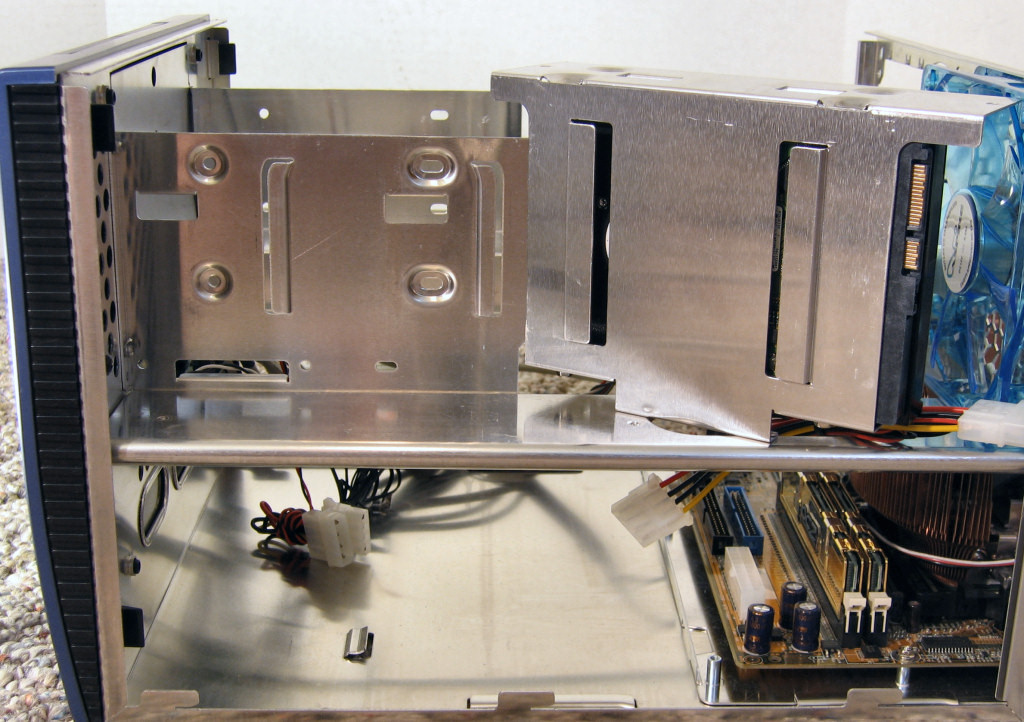
Click to Enlarge
After getting the hard drives situated, the next step would probably be to install the motherboard. After taking off the two screws in the back it simply slides right out of the rear of the case.
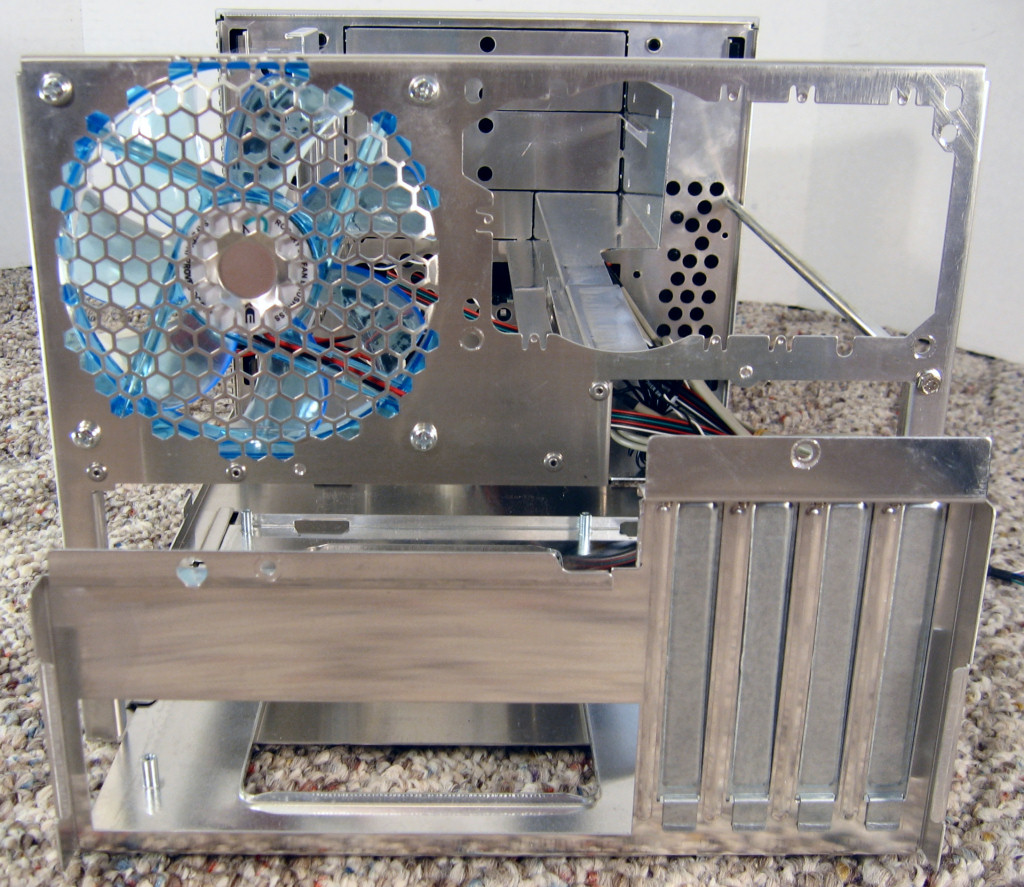
Click to Enlarge
Here's a shot of it propped up against the back of the case.
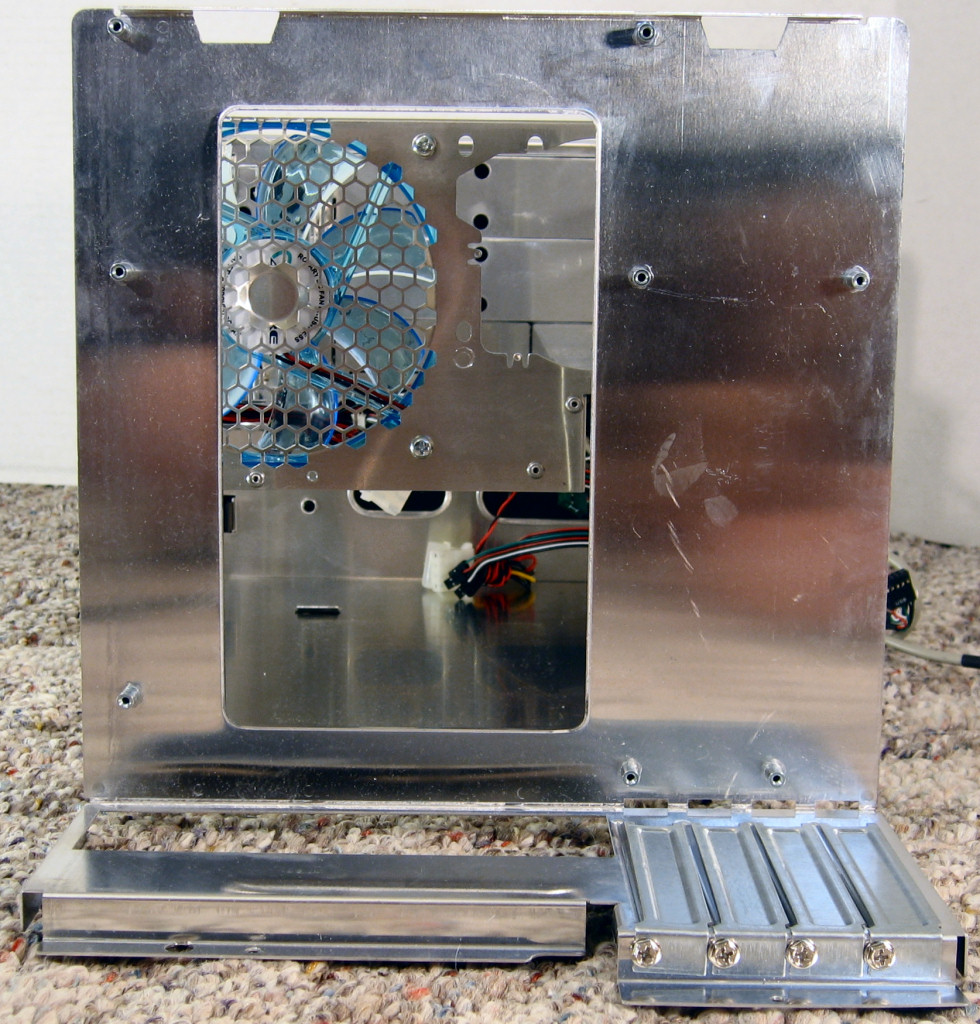
Click to Enlarge
Moving right along...
Originally published at https://www.anandtech.com/show/1726 (Wayback Machine).