
AnandTech Guide to Better Photos: Post-Processing
- Posted in
- Digital Camera
Basic Color Correction
In this section, we are going to discuss one simple way to remove color casts from your images. Although this method cannot always correct heavy color casts, it does a very good job with subtle ones. It can also add a good amount of contrast to your image. This method assumes that your image has a point that should be pure black and a point that should be pure white. If your image is comprised of all subtle midtones, you might want to skip this method.When most people think of color correction, they might think of the “Color Balance” option under the Image/Adjustments menu in Photoshop. Unfortunately, using the “Color Balance” option can be very imprecise. Our method takes the guesswork out of the process so that you can simply find and specify the white and black points of your image. In this method, we will be using the Curves dialog box. Although Photoshop Elements does not offer Curves out of the box, we ran across this interesting website that shows you how to get some Curves functionality in Elements. However, since this Curves manipulation works a bit differently, we will be focusing on Curves in the standard version of Photoshop.
1) Open up the image that needs some color correction and set the view to “Fit to Screen”.
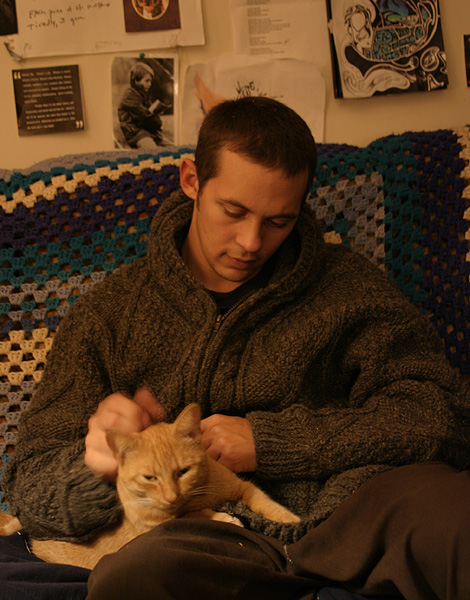
Original image
Click to enlarge.
2) Click the “New Adjustment Layer” icon (half white/half black circle on the layers palette) and select “Threshold”.
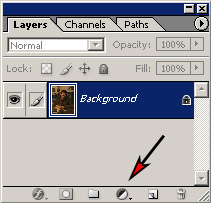
Create a new adjustment layer (Threshold)
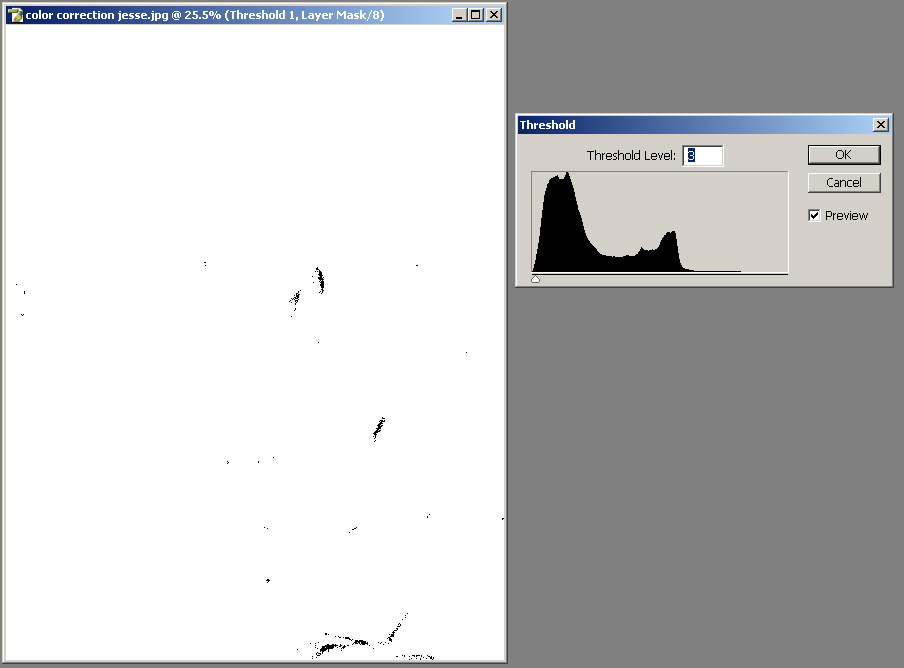
Find the black point
Click to enlarge.
5) Hold down the mouse button over the Eyedropper tool on the Tool palette. Then, select the Color Sampler Tool from the flyout menu.
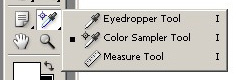
Select the Color Sampler Tool
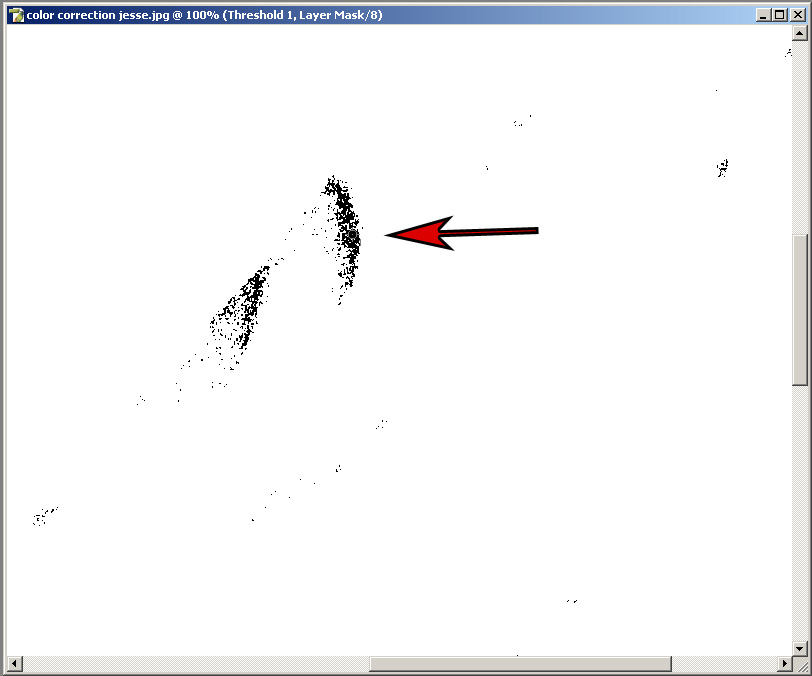
Sample the black point
Click to enlarge.
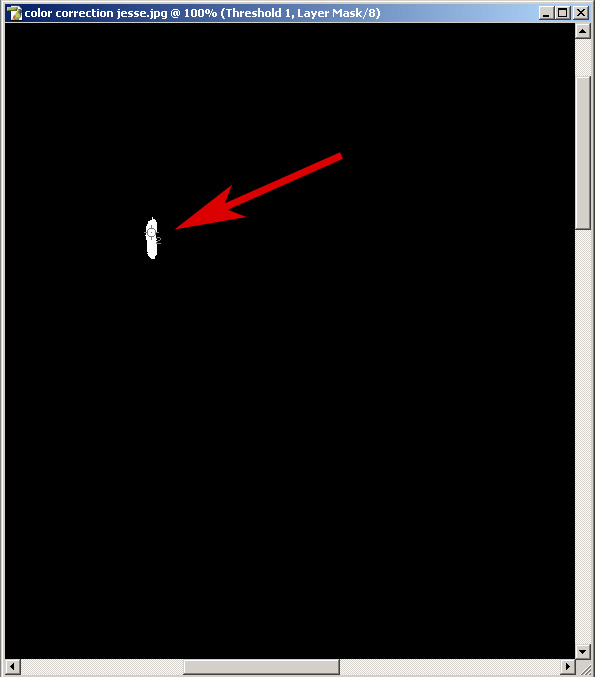
Sample the white point
Click to enlarge.
9) We can either work directly on our image or we can use a Curves Adjustment layer. The benefit of using Curves on an Adjustment layer is that we can always go back and edit the Curves layer or delete it entirely. If you decide to work directly on the image, you will not be able to change the Curves settings later. So, click on the New Adjustment Layer icon and select Curves.
10) The first thing that we want to do is to tell Photoshop how to define “Black” and “White”. Starting with black, double-click the black eye-dropper icon on the left (circled in red in the image below).
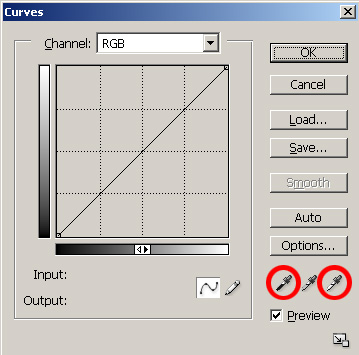
Curves dialog
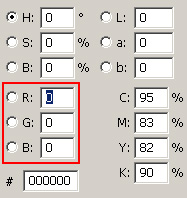
Define RGB values
11) Now that you have defined the RGB values for black and white, we can tell Photoshop where these points are in our image. From the main Curves dialog, select the black eye-dropper tool. Now, move over to your image and click on the sample point for the darkest part of your image. Then, click the white eye-dropper tool and select the sample point on the brightest part of your image. You can also use the “ Set Gray Point” eye-dropper if you have a neutral midtone in your image. If everything went as planned, you should see a difference and an increase in contrast. If you make a mistake at any point and want to start over, simply hold down the Alt key (Mac: Option) and the Cancel button will turn into a Reset button.
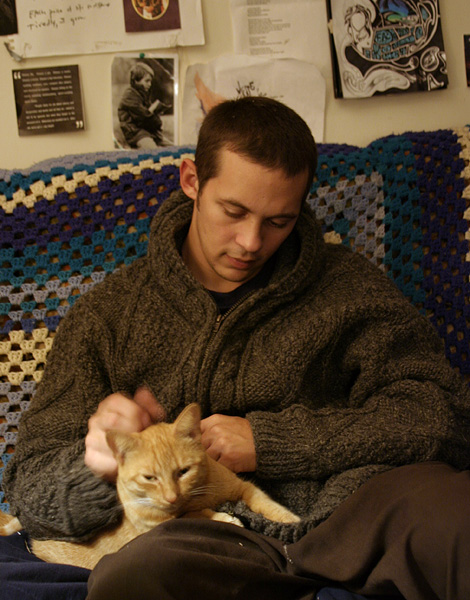
Image after setting black and white points
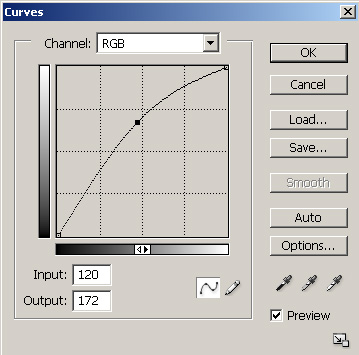
Brightening midtones
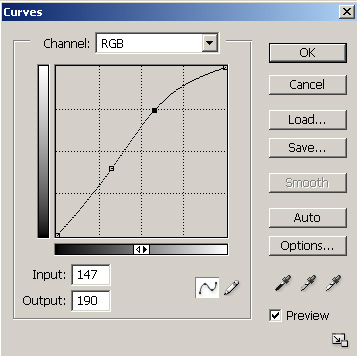
Creating an “S-Curve”
| Before curve adjustment |
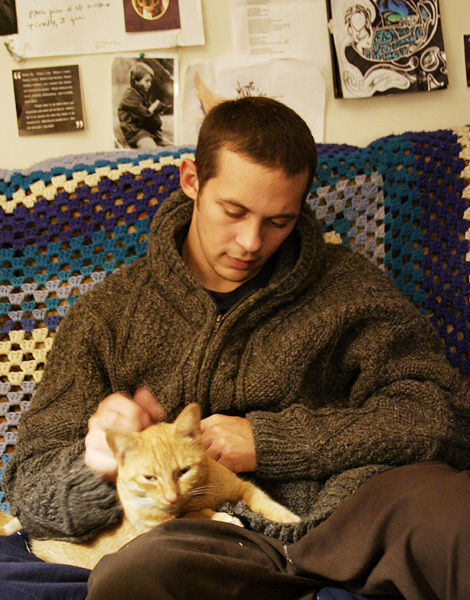 After curve adjustment |
| Click images to enlarge. | |
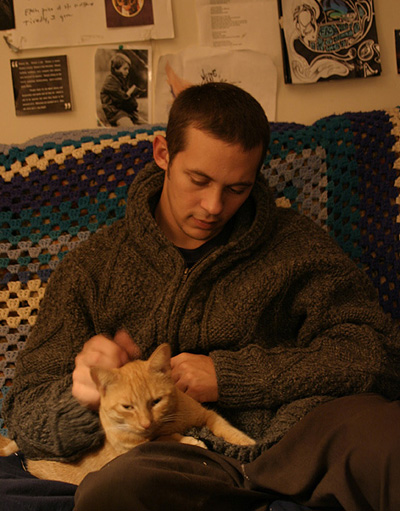
Hold mouse over image.
Originally published at https://www.anandtech.com/show/1648 (Wayback Machine).