
AnandTech Guide to Better Photos: Post-Processing
- Posted in
- Digital Camera
Getting Ready
Before we jump right into editing, there are a couple of things that are very important to do. First, we highly recommend making a backup of your original image. Whether it’s to a CD, DVD, external hard drive, etc., just make sure that you have the original in a safe place and only work on a copy. By doing this, you are giving yourself the option to start over with the original. The second thing to do is to set the RGB color space in Photoshop. By default, Adobe Photoshop will use the sRGB color space. If your original images are in the sRGB color space, you can simply leave it as is (most consumer cameras shoot in sRGB). The sRGB color space is best suited for viewing images on a monitor (such as on a web page). Higher-end cameras often have the option to shoot in either sRGB or Adobe RGB. If your images are in the Adobe RGB color space, you should configure your Photoshop working space as Adobe RGB (1998). The reason for this is that the Adobe RGB color space has a much wider gamut than sRGB – meaning that you can work with a larger range of colors.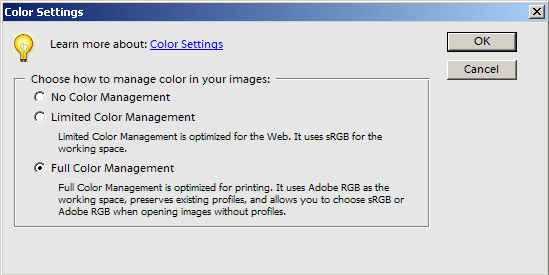
Photoshop Elements 3.0
Click to enlarge.
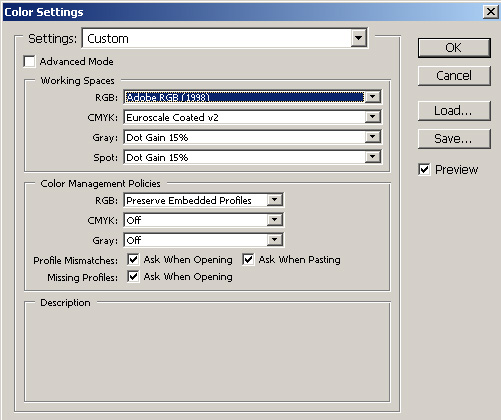
Photoshop CS
Click to enlarge.
Originally published at https://www.anandtech.com/show/1648 (Wayback Machine).