
NVIDIA's GeForce 6 SLI: Demolishing Performance Barriers
- Posted in
- GPUs
Enabling SLI
We’ve already described the SLI setup process in our Preview of NVIDIA SLI Performance, but we will revisit it here today using the ASUS A8N-SLI Deluxe board as there are some differences.
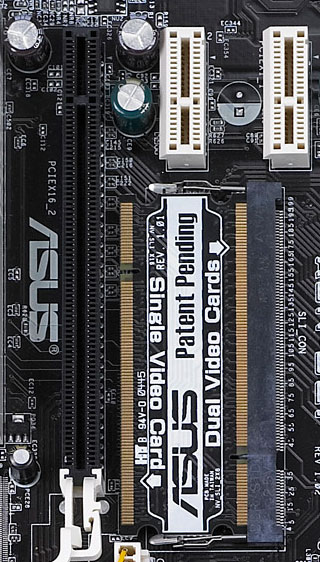
The first step in enabling SLI is to reconfigure the PCI Express x16 lanes from the nForce4 SLI chipset into two x8 lanes, this is done by inserting the SLI card in the appropriate direction:
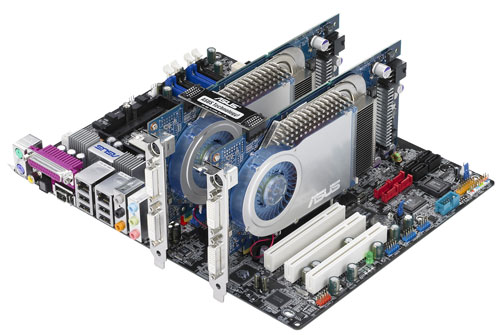
Next, you plug in both PCI Express graphics cards. They must be the same GPU type, but you can use cards from different manufacturers if you would like (although it is recommended to have the same BIOS revisions, etc…).
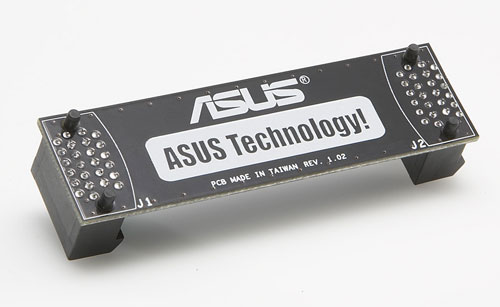
Third, connect the two PCI Express graphics cards using the ASUS supplied bridge PCB.
Fourth, connect the appropriate power connectors to both PCI Express graphics cards.
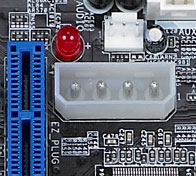
Fifth, connect power to ASUS’ on-board 4-pin power connector.
Finally, connect your monitor to either one of the outputs on the first PCI Express card and power up your system.
Once in Windows, using the 66.93 drivers, you simply enable SLI mode from NVIDIA’s control panel and reboot your system to enable SLI. Note that only your primary graphics card’s display outputs will be active in SLI mode.
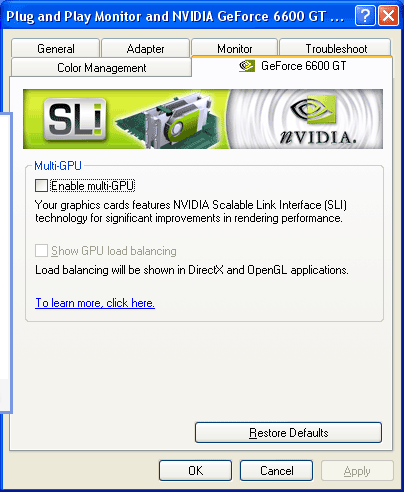
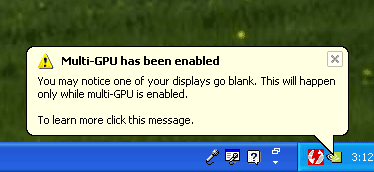
Clicking the check box requires a restart to enable (or disable) SLI, but after you've rebooted everything is good to go.
Originally published at https://www.anandtech.com/show/1552 (Wayback Machine).