
ArmorLink Post Genie: Network Convergence in a Little Green box
- Posted in
- Networking
Initial Setup
Setting up the Post Genie was easy - plug in an Ethernet cable to the WAN (Wide Area Network) port, twist the power connector in place and turn the system on. After about five minutes (the length of time for the system's initial initializing process), we were presented with the default information screen. Five minutes seems a bit long, but the delayed boot time only occurs during the preliminary setup. After the first initialization process, the Post Genie's boot up time takes about two minutes. At this point, the Post Genie defaults its WAN adaptor to DHCP where it will obtain any available IP. Since this will be used as a server, it is highly recommended to use a static IP. We used the configuration method on the previous page to set the server for a static IP instead. Then, opening an IE Window and pointing it to the IP of the Post Genie, we get a login and start the seven-step setup wizard.Step 1: The very fist step is to change the default administrator password.
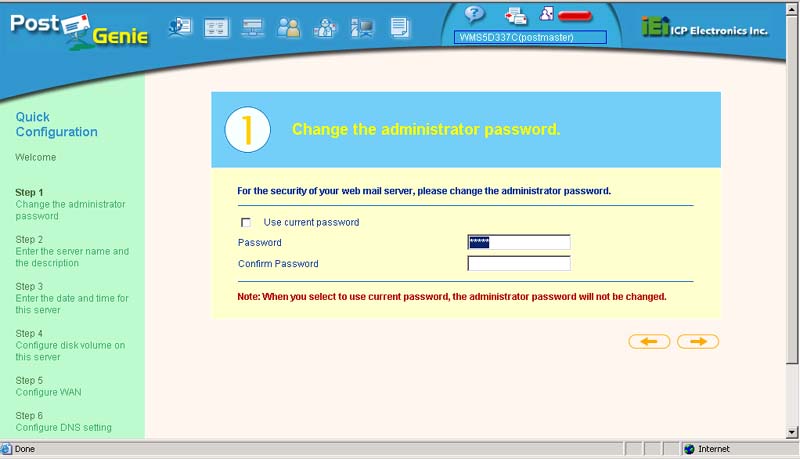
Click to enlarge.
Step 2: We then enter the server name and a brief description.
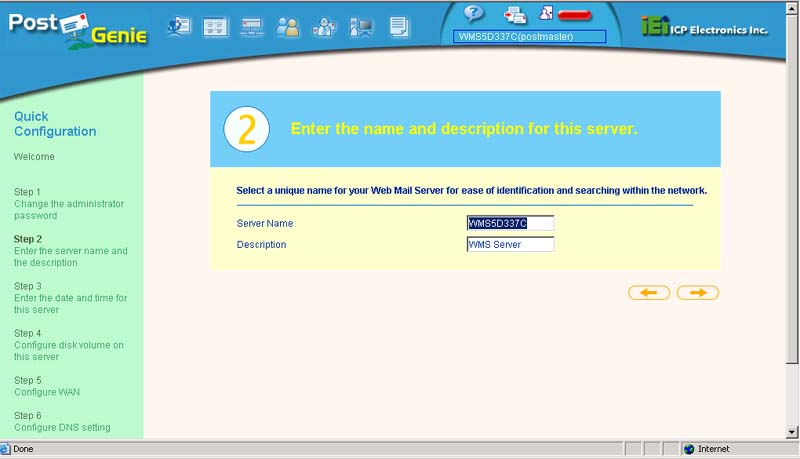
Click to enlarge.
Step 3: Set the time, date, and time zone.
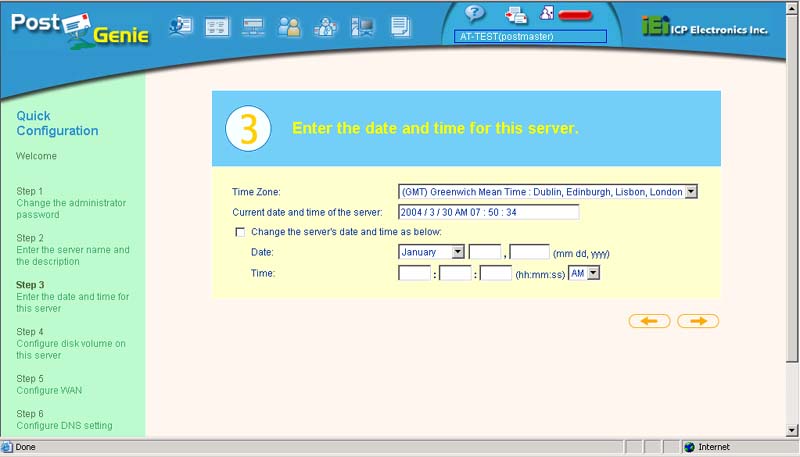
Click to enlarge.
Step 4: Modify hard drive information. We will talk more about this later.
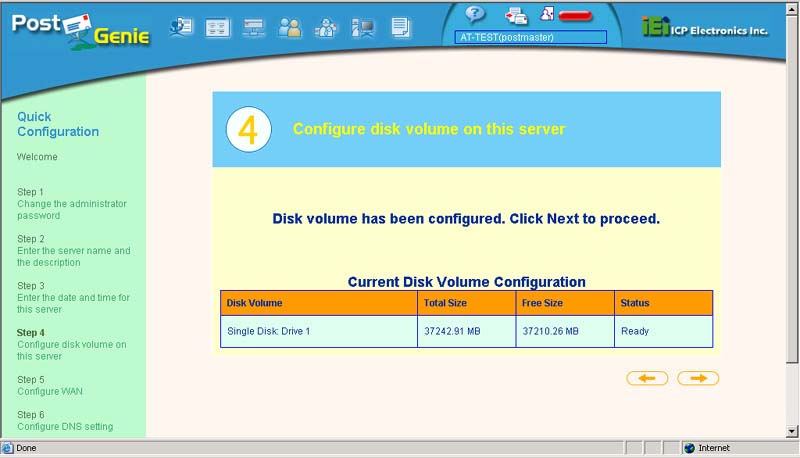
Click to enlarge.
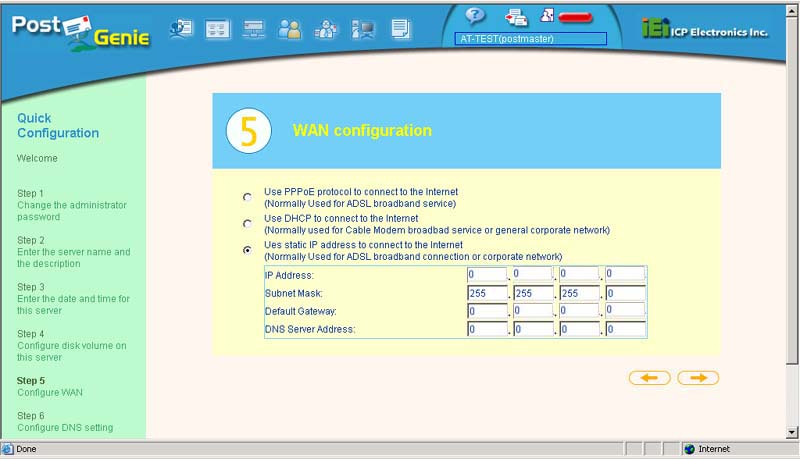
Step 5: Next is to configure the IP of the Post Genie, either via PPoE, DHCP, or static assignment.
Click to enlarge.
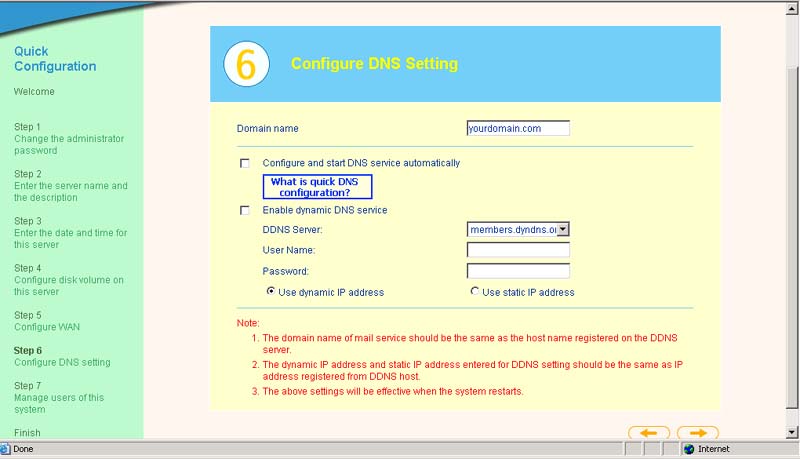
Step 6: This screen is to choose the DNS options.
Click to enlarge.
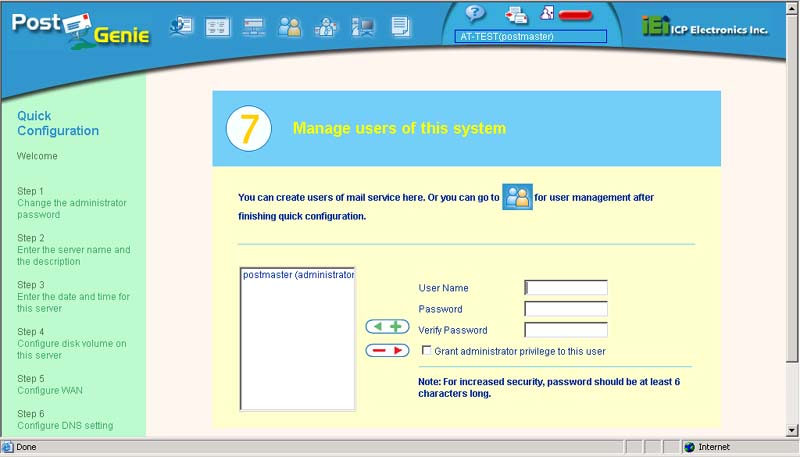
Step 7: Finally, add the appropriate users and administrators to the system.
Click to enlarge.
Originally published at https://www.anandtech.com/show/1389 (Wayback Machine).