
The ASUS Z370-I Gaming Review: Mini-Me Mega Motherboard
Overclocking
Experience with the ASUS ROG Strix Z370-I Gaming
Overclocking with the Z370-I Gaming was a fairly straightforward experience. While the board does not have all of the fancy overclocking features that the Apex or other larger boards can have, it was able to push our CPU to its limit using our Corsair H115i cooler. The board's heatsinks handled the overclocked load without issue, and they ended up warm to the touch after our 30-minute OCCT session. Any of the BIOS options needed (in this case, XMP, CPU Multiplier, and Vcore) are all under the same Ai Tweaker heading and easy to locate.
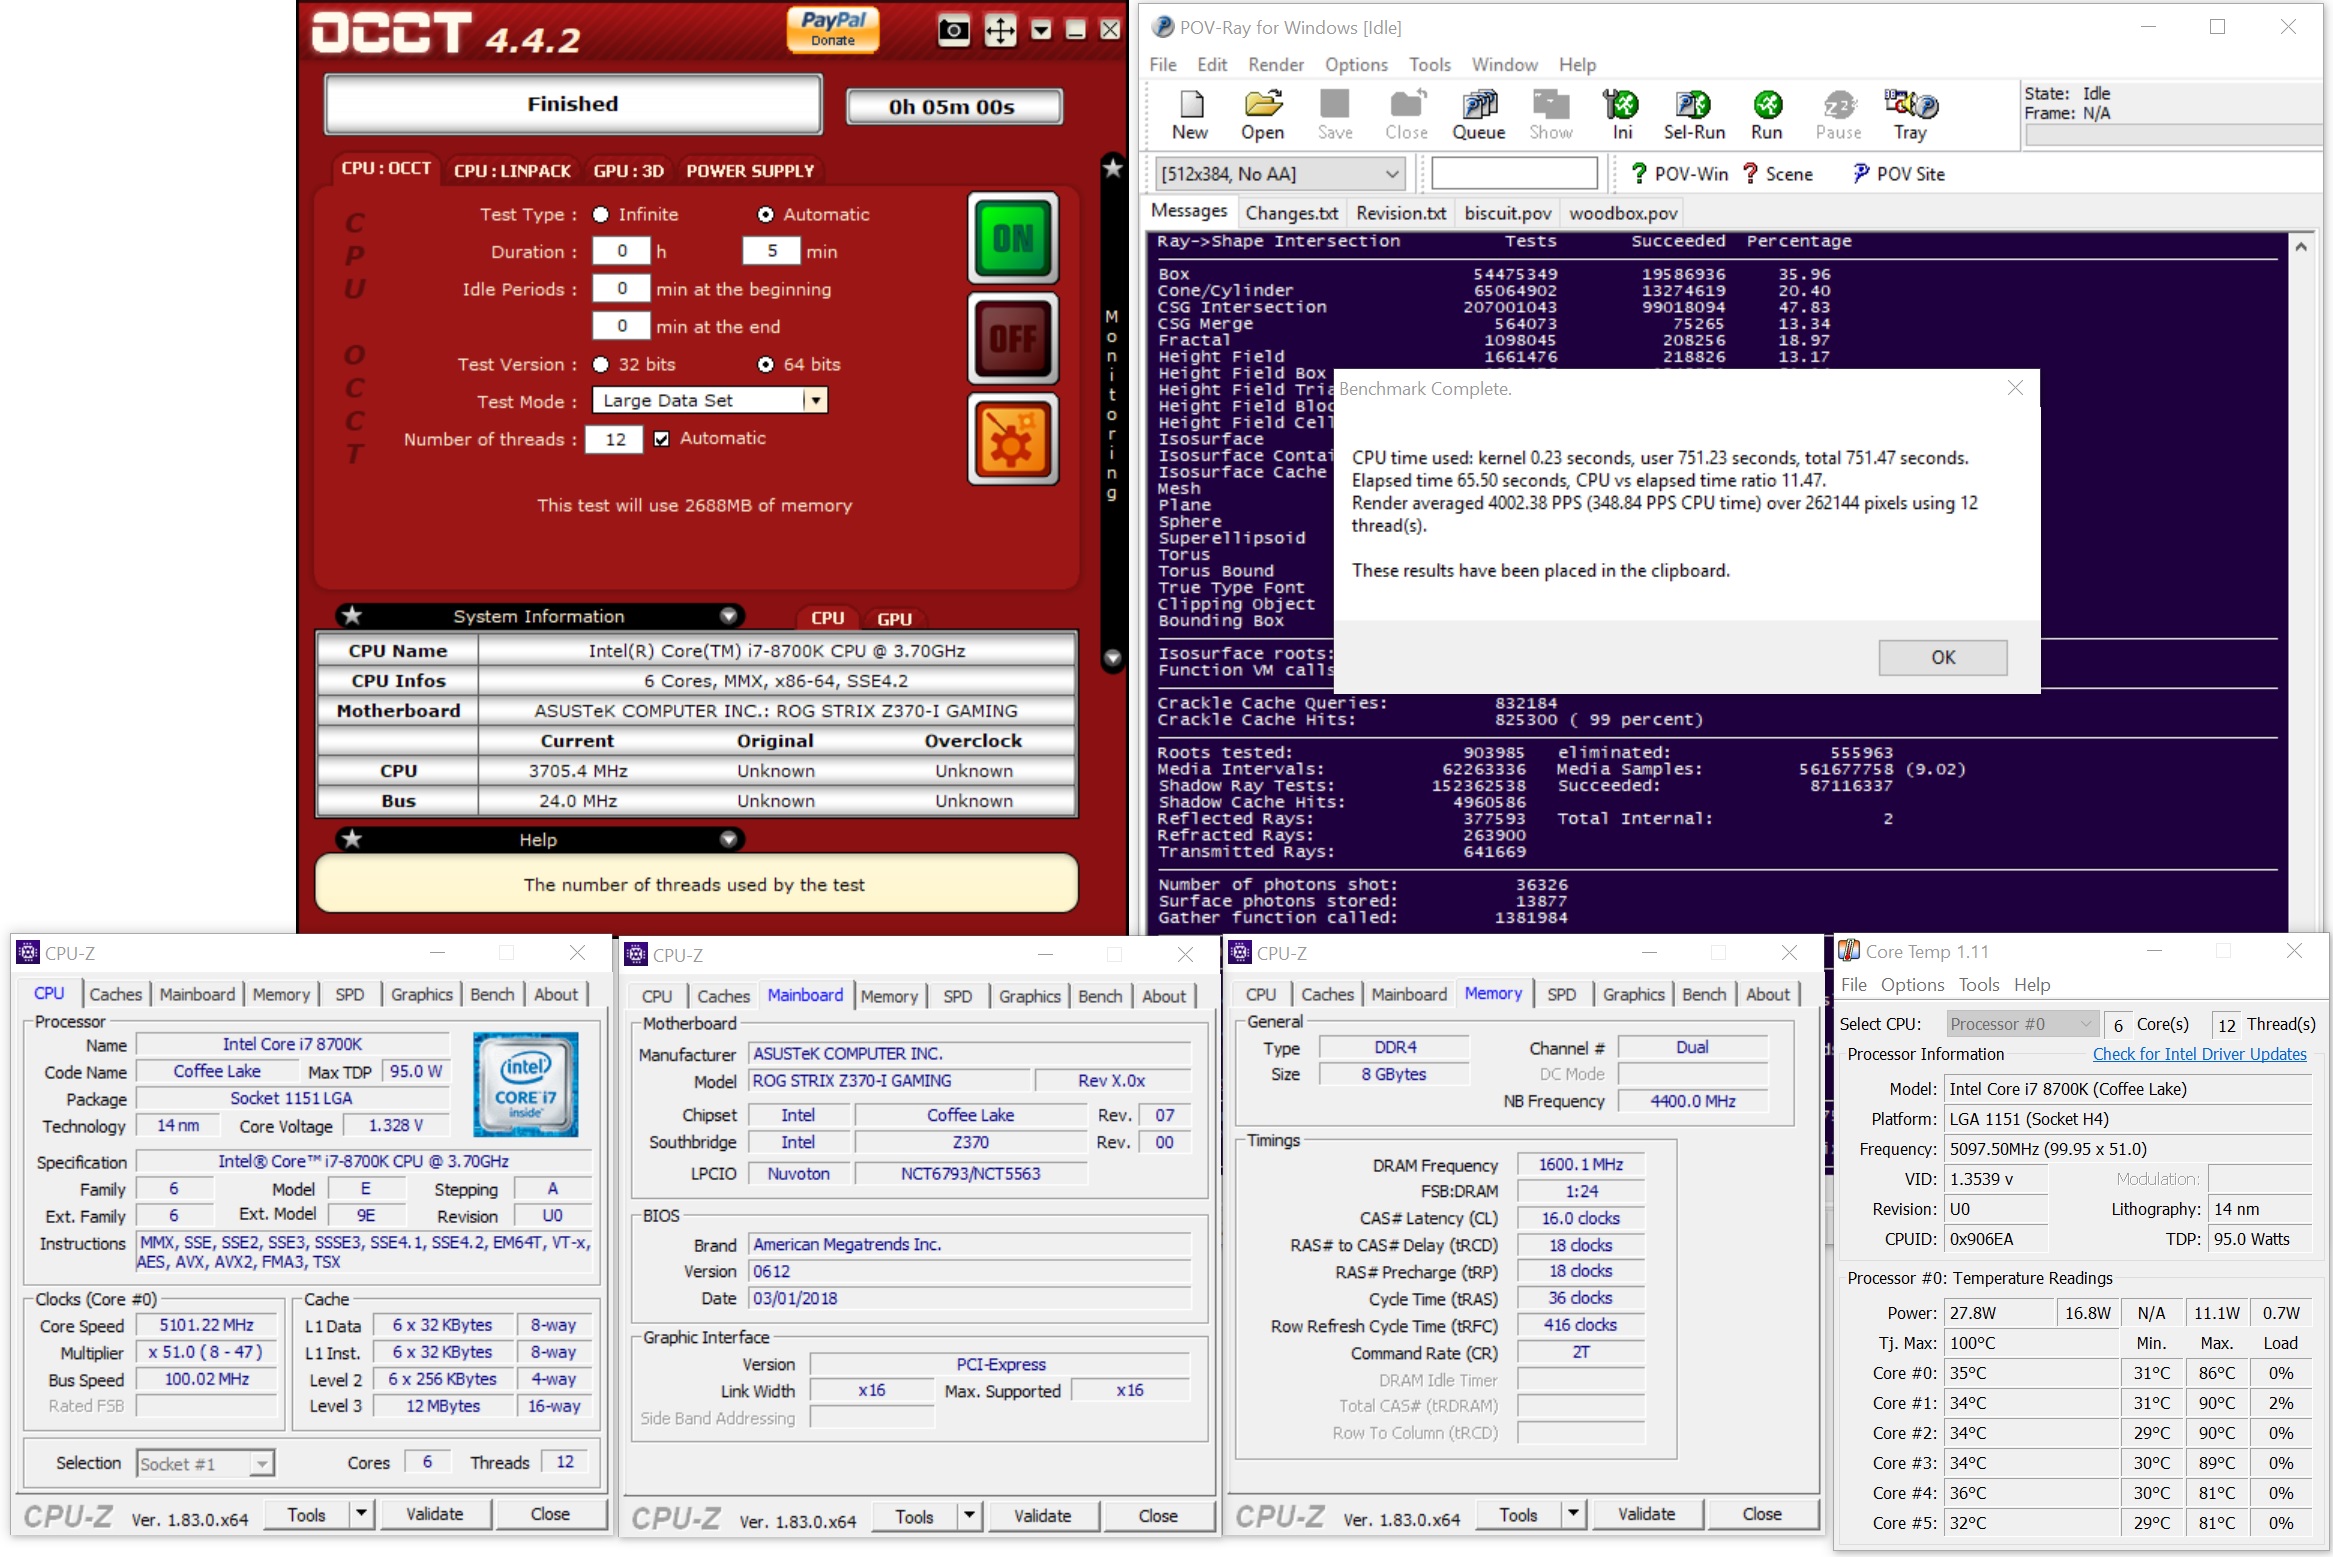
For the auto overclocking, we used AI Suite to set things up. For our part, we selected all core overclocking then hit start. In the end, the process took about eight minutes to complete and generates a report end showing the clocks, peak voltage, wattage, and temperatures. The final product was a 5 GHz peak clock with the cores set to 50/50/50/50/47/47. When running POV-Ray and OCCT I found a -3 AVX offset used which yielded an all core result of 4.4 GHz (versus 4.3 GHz stock). Single threaded applications did run at 5 GHz. As far as voltage stability, with LLC set to auto, I would see the voltage rise above the set value when loaded. This can be easily mitigated by adjusting LLC to a less aggressive value.
Manual overclocking was met without any major challenges from the board. When we first started our overclocking endeavor, we were seeing power limit throttling and had to raise PL1 and PL2 to prevent that from happening. Outside of that, the board happily went along with what we demanded from it. ASUS' BIOS again makes things easy with nearly everything one needs for a successful overclock all under the Ai Tweaker heading. Overall, the small and little board exhibited big boy board abilities when overclocking and easily managed the stresses that went along with a highly overclocked processor.
Overclocking Methodology
Our standard overclocking methodology is as follows. We select the automatic overclock options and test for stability with POV-Ray and OCCT to simulate high-end workloads. These stability tests aim to catch any immediate causes for memory or CPU errors.
For manual overclocks, based on the information gathered from the previous testing, starts off at a nominal voltage and CPU multiplier, and the multiplier is increased until the stability tests are failed. The CPU voltage is increased gradually until the stability tests are passed, and the process repeated until the motherboard reduces the multiplier automatically (due to safety protocol) or the CPU temperature reaches a stupidly high level (90ºC+). Our test bed is not in a case, which should push overclocks higher with fresher (cooler) air.
Overclocking Results
The ASUS ROG Strix Z370-I Gaming was able to take our i7-8700K to the lofty heights our 'made for overclocking' board, the Apex, took us. We are again limited by the cooler. Our particular sample is a good candidate to delid as there is a bit of headroom voltage wise, but hit the ceiling on temperatures. Compared to the Apex, the jump from 4.9 GHz to 5 GHz was significantly harder. The Apex needed 1.28V (actual) to reach 5 GHz while the Z370-I Gaming needed 1.328V (software).

Originally published at https://www.anandtech.com/show/12526/the-asus-z370i-gaming-motherboard-review (Wayback Machine).