
Shuttle XPC SB65G2: Big Performance in This Small Package
- Posted in
- Systems
Shuttle SB65G2: G2 Chassis
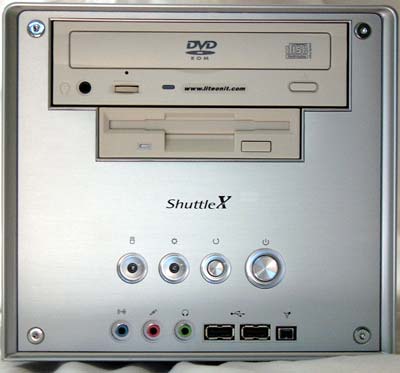
The SB65G2 chassis front is finished in the brushed aluminum used for the case shell. The G2 design is very familiar, as we’ve seen it in our last 2 reviews of Shuttle SFF systems in January and March. In this incarnation, we find just about every port you could ever want on the front of the system — 2 USB, mini Firewire, and duplicate audio jacks. The Blue System ON and Orange hard disk activity lights are very easy to see and distinguish in this design.
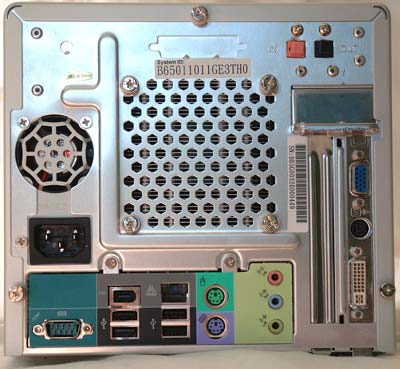
The rear of the chassis is much like other Shuttle XPC designs. We were pleased to see both SPDIF optical in and out ports included for hook-up to a Dolby Digital setup. Shuttle was wise to include a full set of audio connectors on both the front and rear panels. Different configurations work best with different arrangements, and this SB65G2 design is very flexible and easily adapted to your needs.
The brushed aluminum shell include air inlet grills low on both sides of the chassis. These do help in improving cooling.

Click to enlarge.
As you can see in our open view of the chassis, we have loaded the system with a CD Recorder/DVD combo, floppy, and 120Gb hard drive.

Click to enlarge.
Even with all of these peripherals installed, the interior is still well-organized and reasonably uncluttered, especially considering the small size of the system.
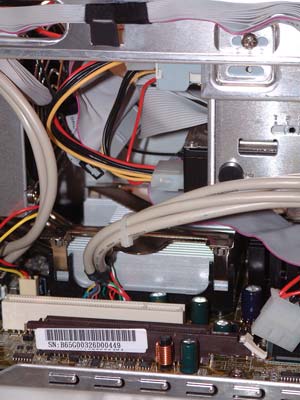
The rear fan that you see in the picture above is a temperature-controlled variable speed unit, with two modes that are selectable in the BIOS. It is part of the familiar and very effective Shuttle I.C.E. heatpipe/rear fan arrangement.

Click to enlarge.
If you would like to know more about how the Shuttle cooling system works, check out our earlier Shuttle Review.
One of the more notable points of the Shuttle design is the ability to access both the AGP and PCI slot even when the system is fully loaded.
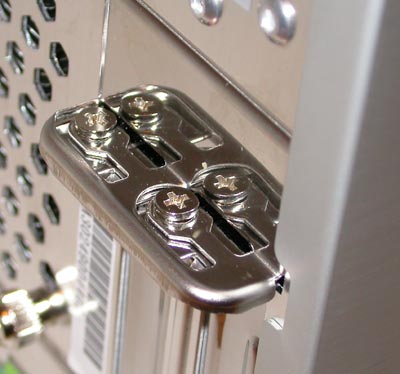
Most of the installation steps on the SB65G2 are familiar and well-described in the Shuttle manuals. Mounting an AGP or PCI card, however, is a bit unique unless you have used a Shuttle SFF before. As you can see in the above photo, 2 screws secure the slots. You must remove both screws and flip up the hinged top cover by pushing out from the inside of the case, just above the slots. You can then easily add or remove a PCI or AGP card. While this is not the most intuitive arrangement we have seen, it is actually a very clever solution to the problem of space in a SFF design.

Click to enlarge.
No, your eyes are not playing tricks on you, because that is our top-line ATI Radeon 9800 PRO mounted in the 8X AGP slot with a Molex power connector. With a 200 watt power supply, we were more than a little concerned about whether the Shuttle could handle a loaded system with a 3.0 GHz CPU and the ATI card. The answer is: “yes, it can”.
Originally published at https://www.anandtech.com/show/1142 (Wayback Machine).