
The Alphacool NexXxoS Cool Answer 360 DDC/XT Liquid Cooling Kit Review
Installation
Casual users often wonder about how much harder the installation of a kit is over a AIO solution or even an air cooler. Actually, the installation itself is not very complex – the selection of the proper parts is. As the NexXxoS Cool Answer 360 DDC/XT is a full liquid cooling kit, it gives us the chance to demonstrate the installation process and highlight some of the most critical difficulties.
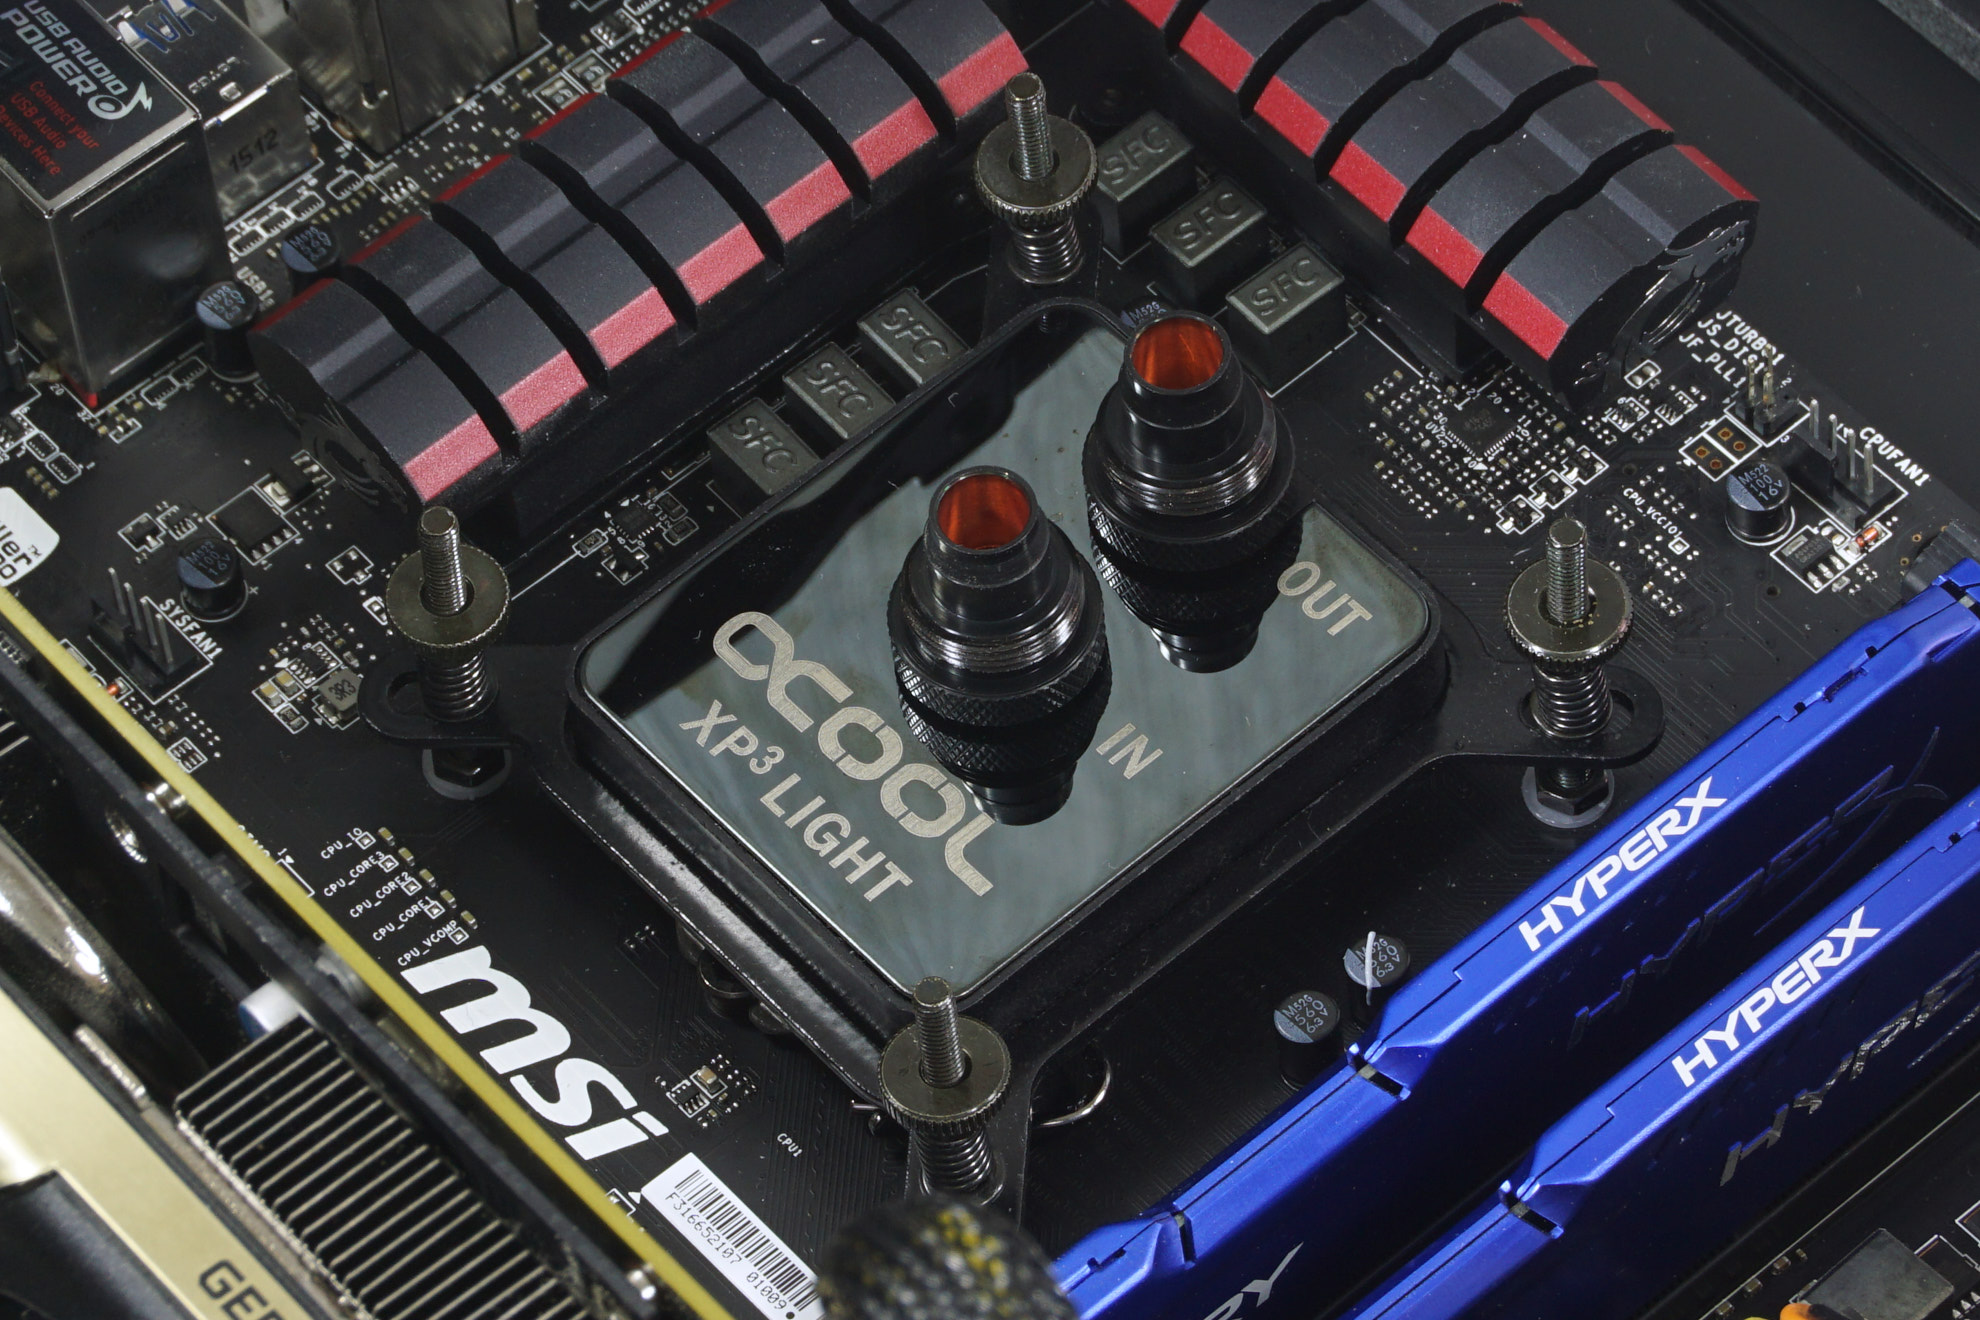
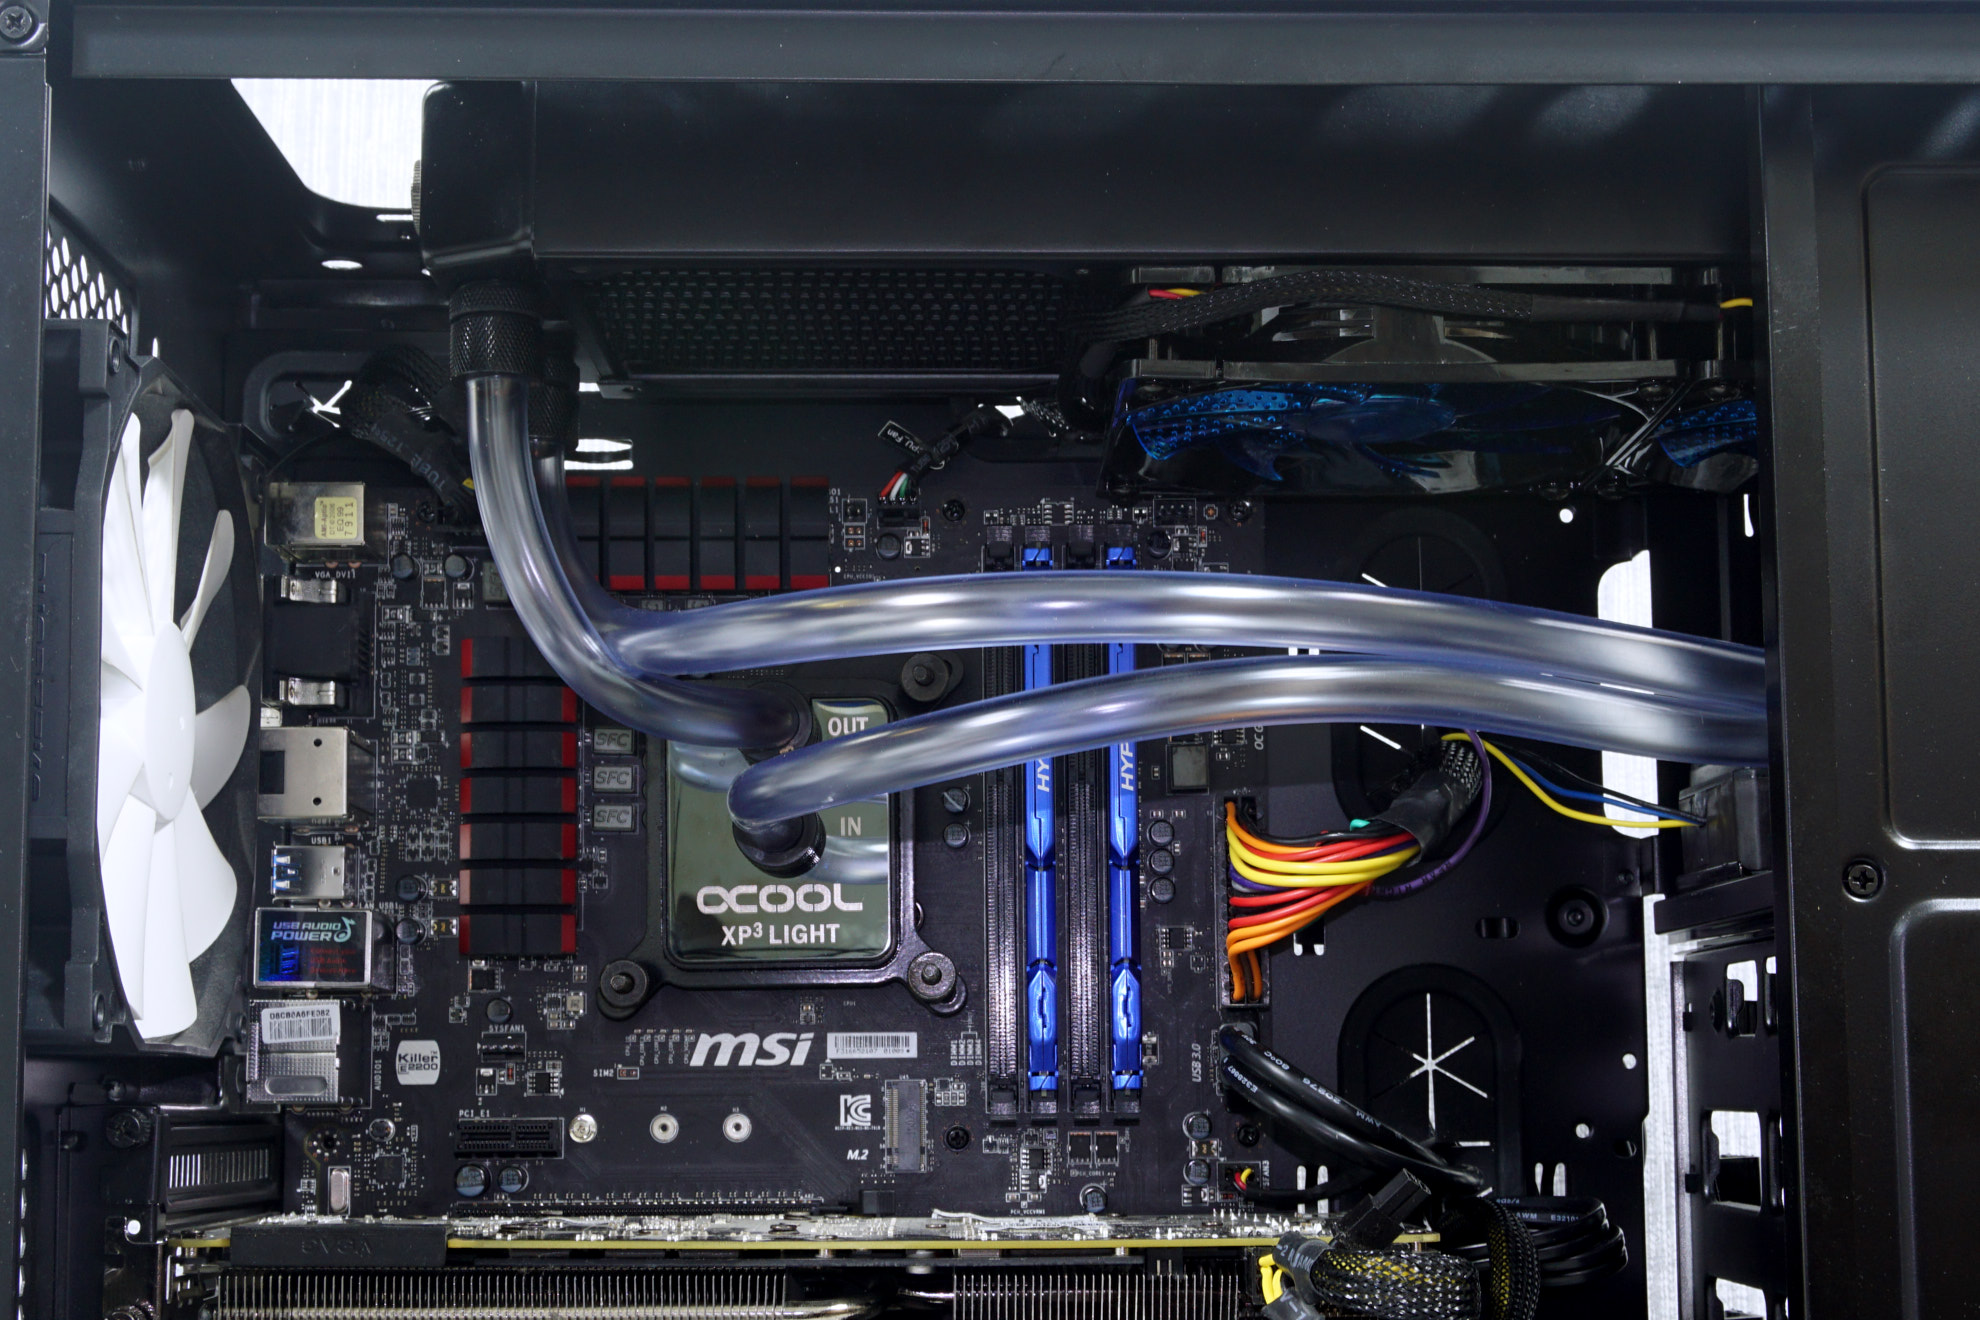
The first step is to install the liquid cooling block onto the CPU. Due to the size and the design of the block, this may be a very easy process, even easier than the installation of a simple air cooler. The Alphacool XP3 Light is a very easy to install block. Once the backplate with the support screws is attached to the rear of the motherboard, the block is simply fastened on the CPU using the thumbscrews and springs.
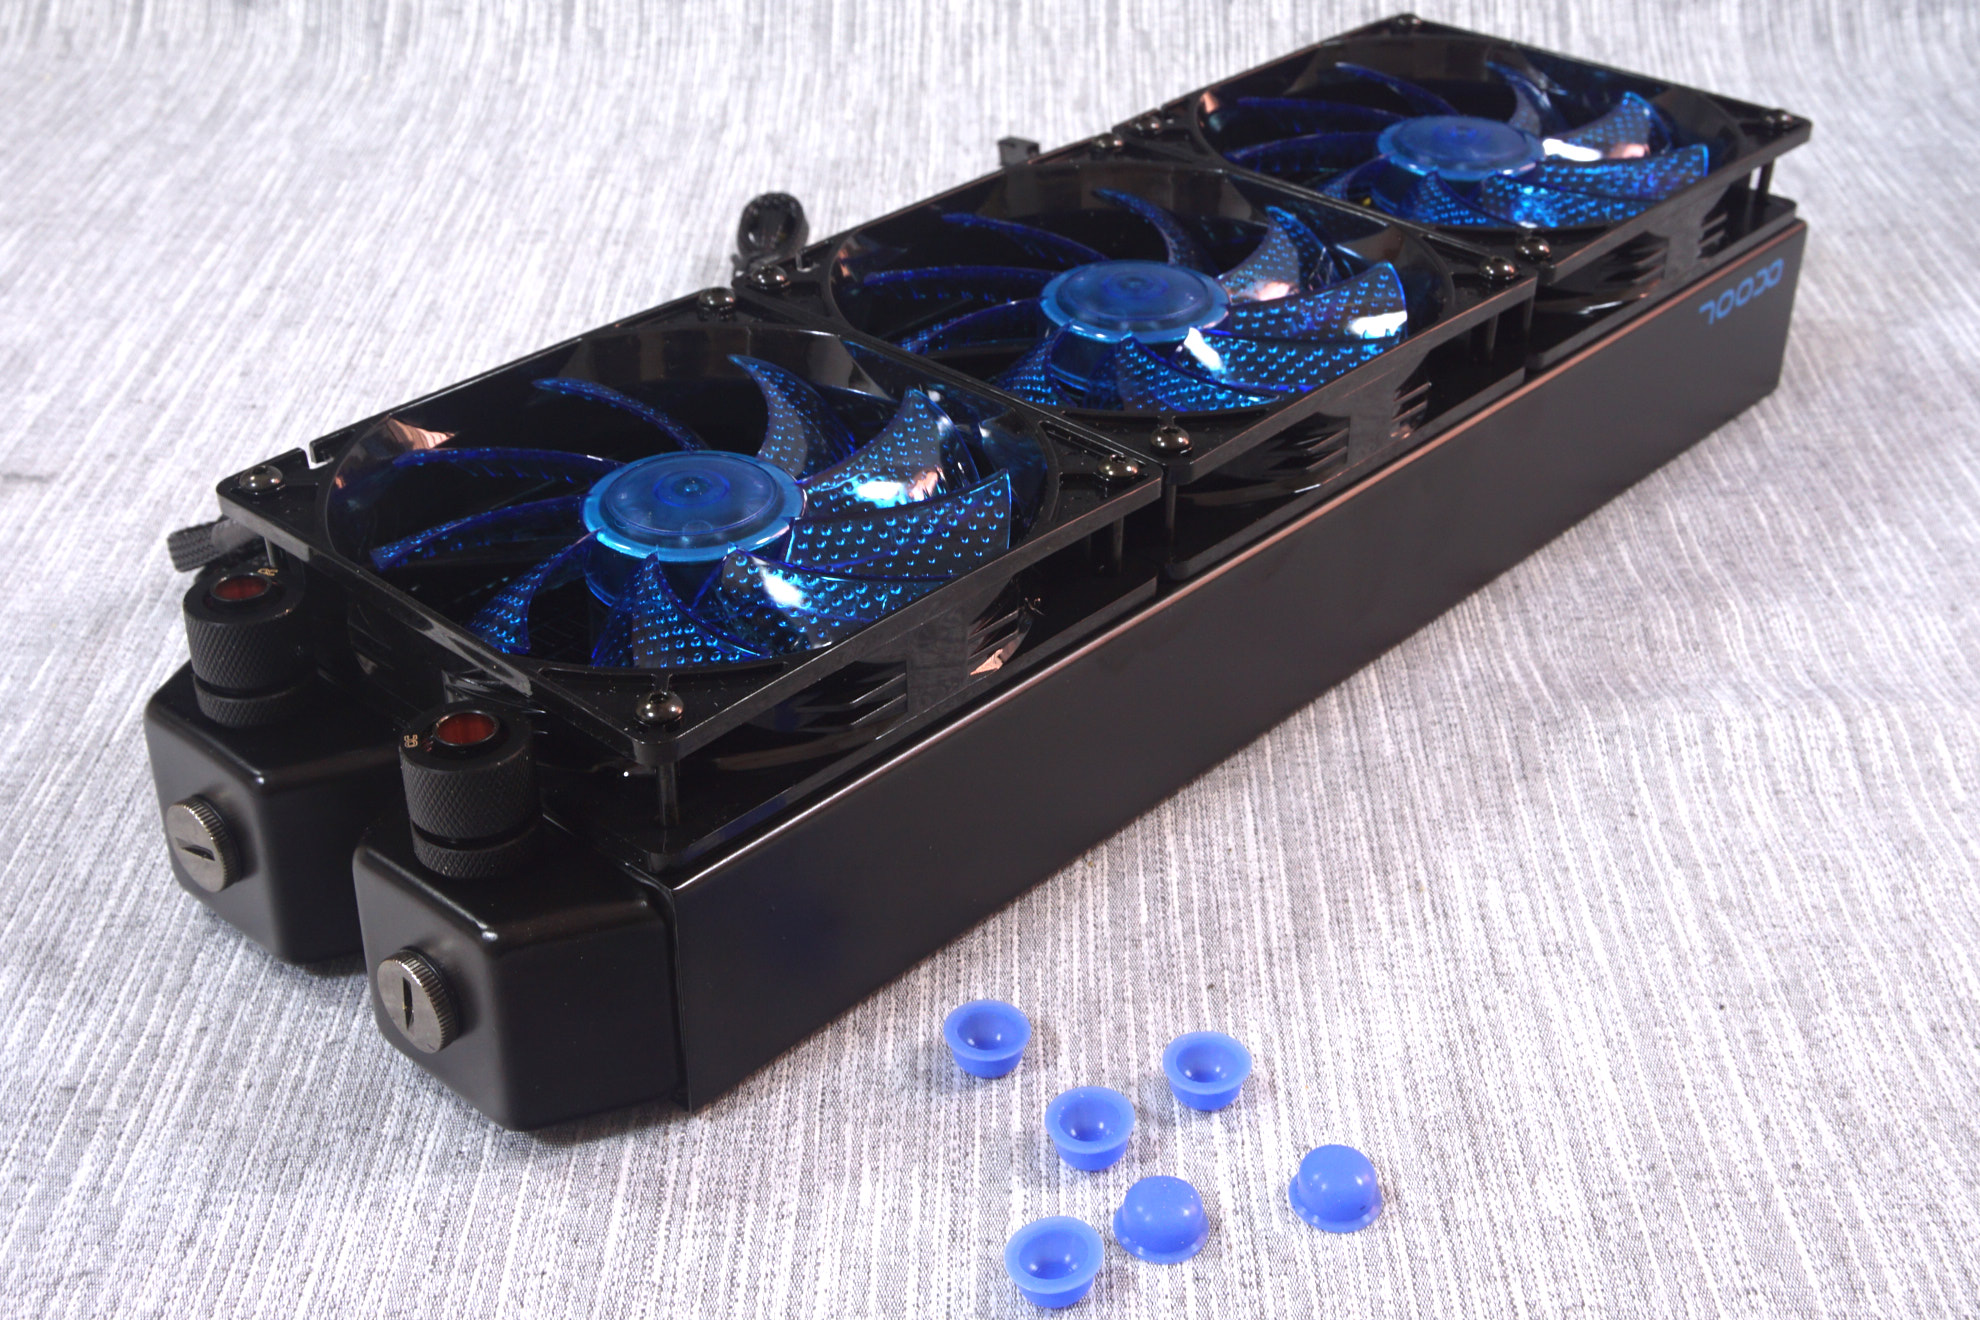
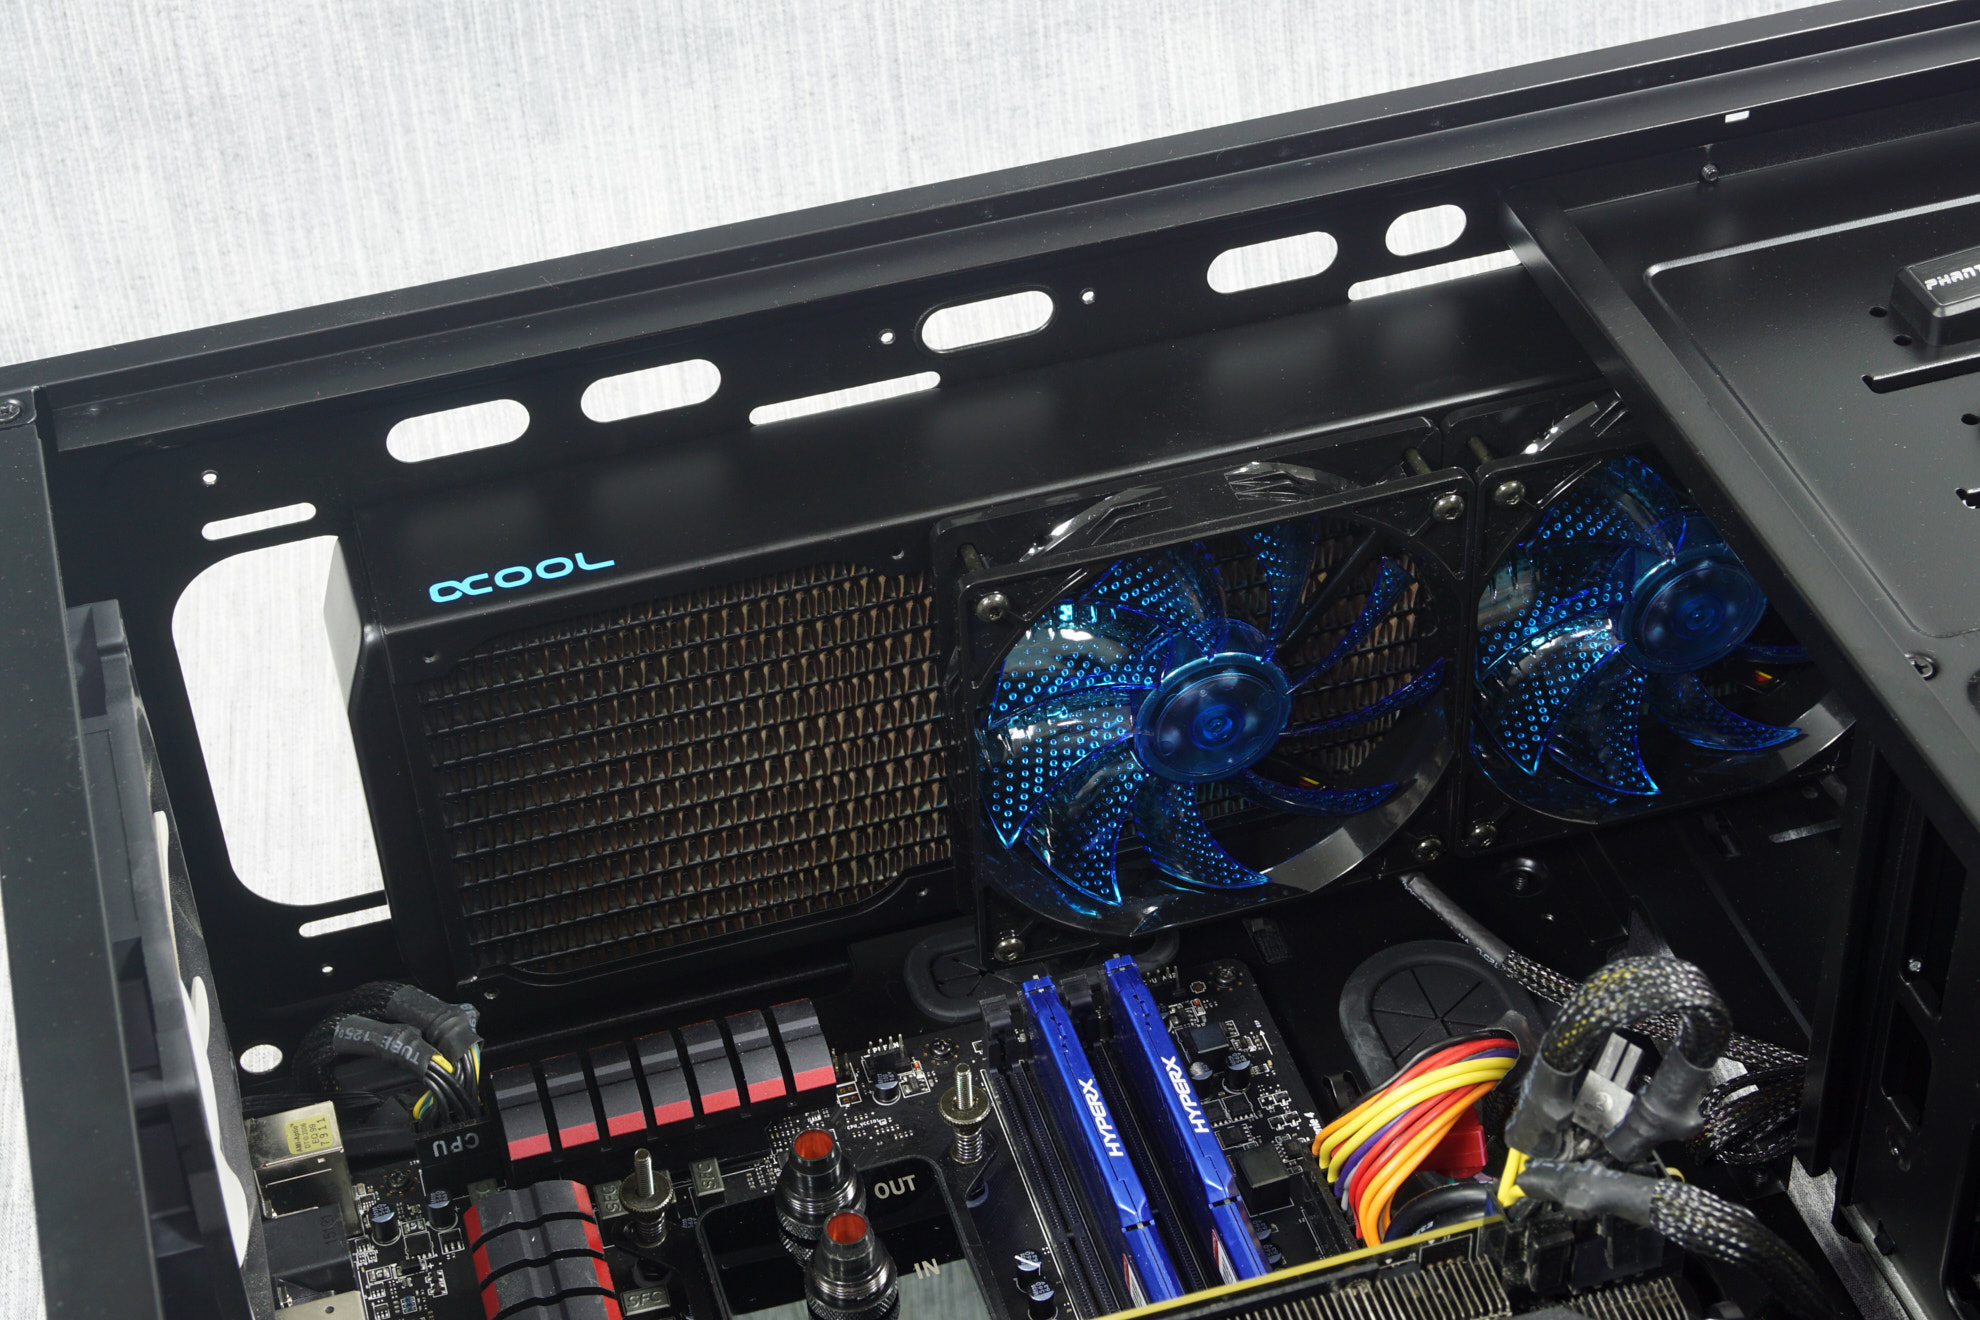
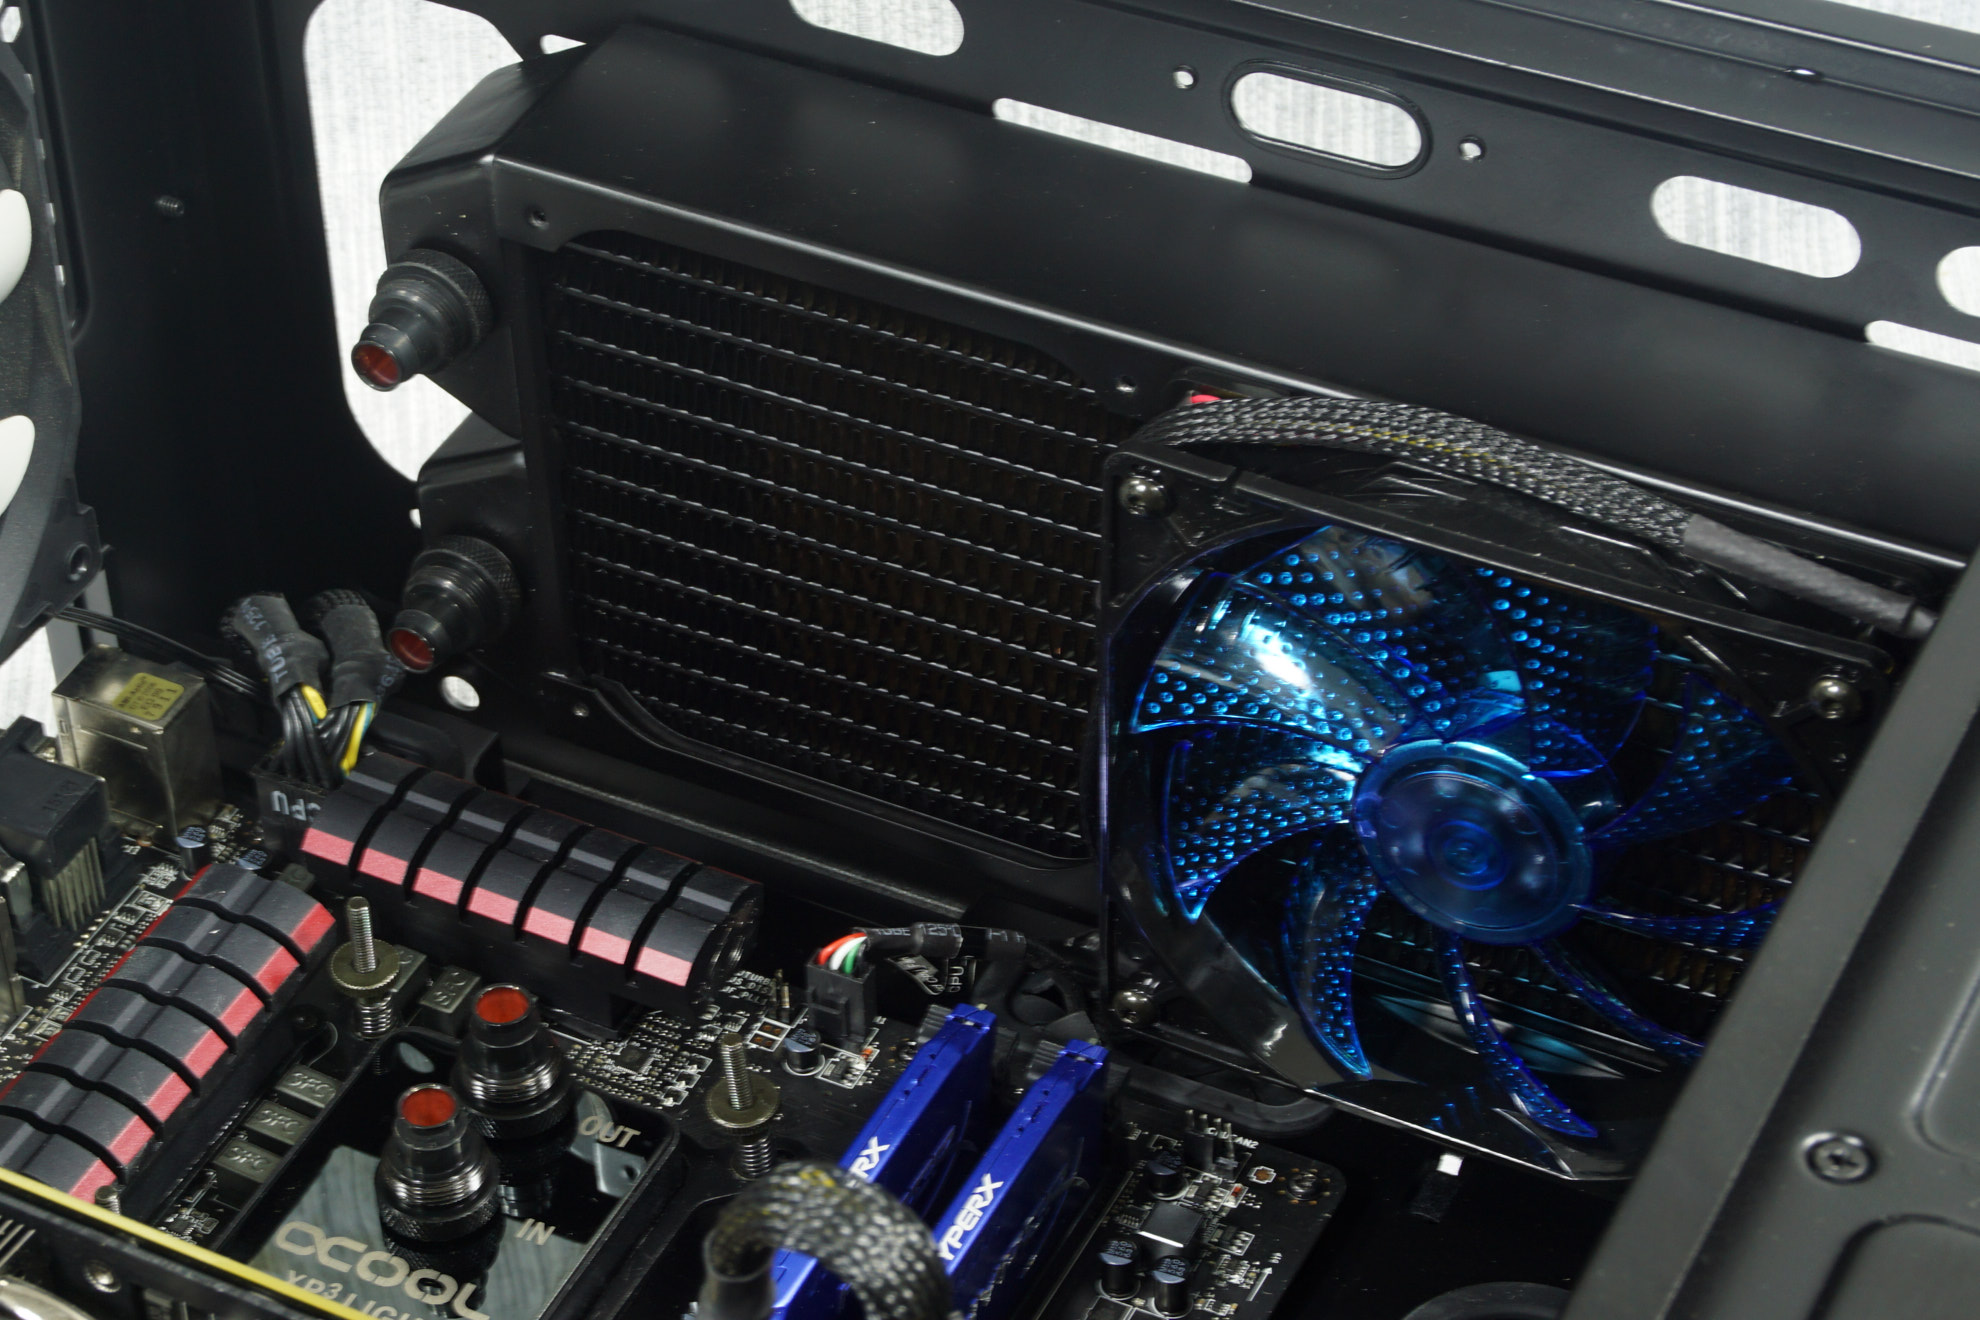
A critical issue when selecting liquid cooling parts is the selection of a proper radiator. A larger radiator will not necessarily improve performance, especially if the pump is weak and it can easily cause compatibility issues. In our case, we do have a powerful pump and the kit is configured with maximum performance and expandability in mind, so the XT45 radiator is a judicious choice.
It is however so thick that we could not fit it even in the Phantecs Enthoo Pro, a case specifically designed to support large radiators, just because the third fan was interfering with the extruding motherboard’s heatsinks. This might not have been an issue if we simply chose another motherboard with different heatsinks/layout. When selecting a high performance radiator, it is critical to take into account both the clearance of the case and the possible interference from other hardware parts.
The joined 5.25” bay reservoir and pump assembly does increase the ease of installation significantly. A stand-alone pump and reservoir would require the user to seek his/her own mounting space and methods. The placement of a reservoir in a 5.25” bay may seem very easy and straightforward, but there is a small catch; you cannot actually access the filling hole while the reservoir is inside the bay. As the reservoir needs to be pulled at least partially outside of the case, the user needs to make sure that the tubing is long enough to allow for it. For a fully clear reservoir, it is a pity that it does not have any lighting or direct support for external lighting options. This will not be an issue in a well-lit system though.
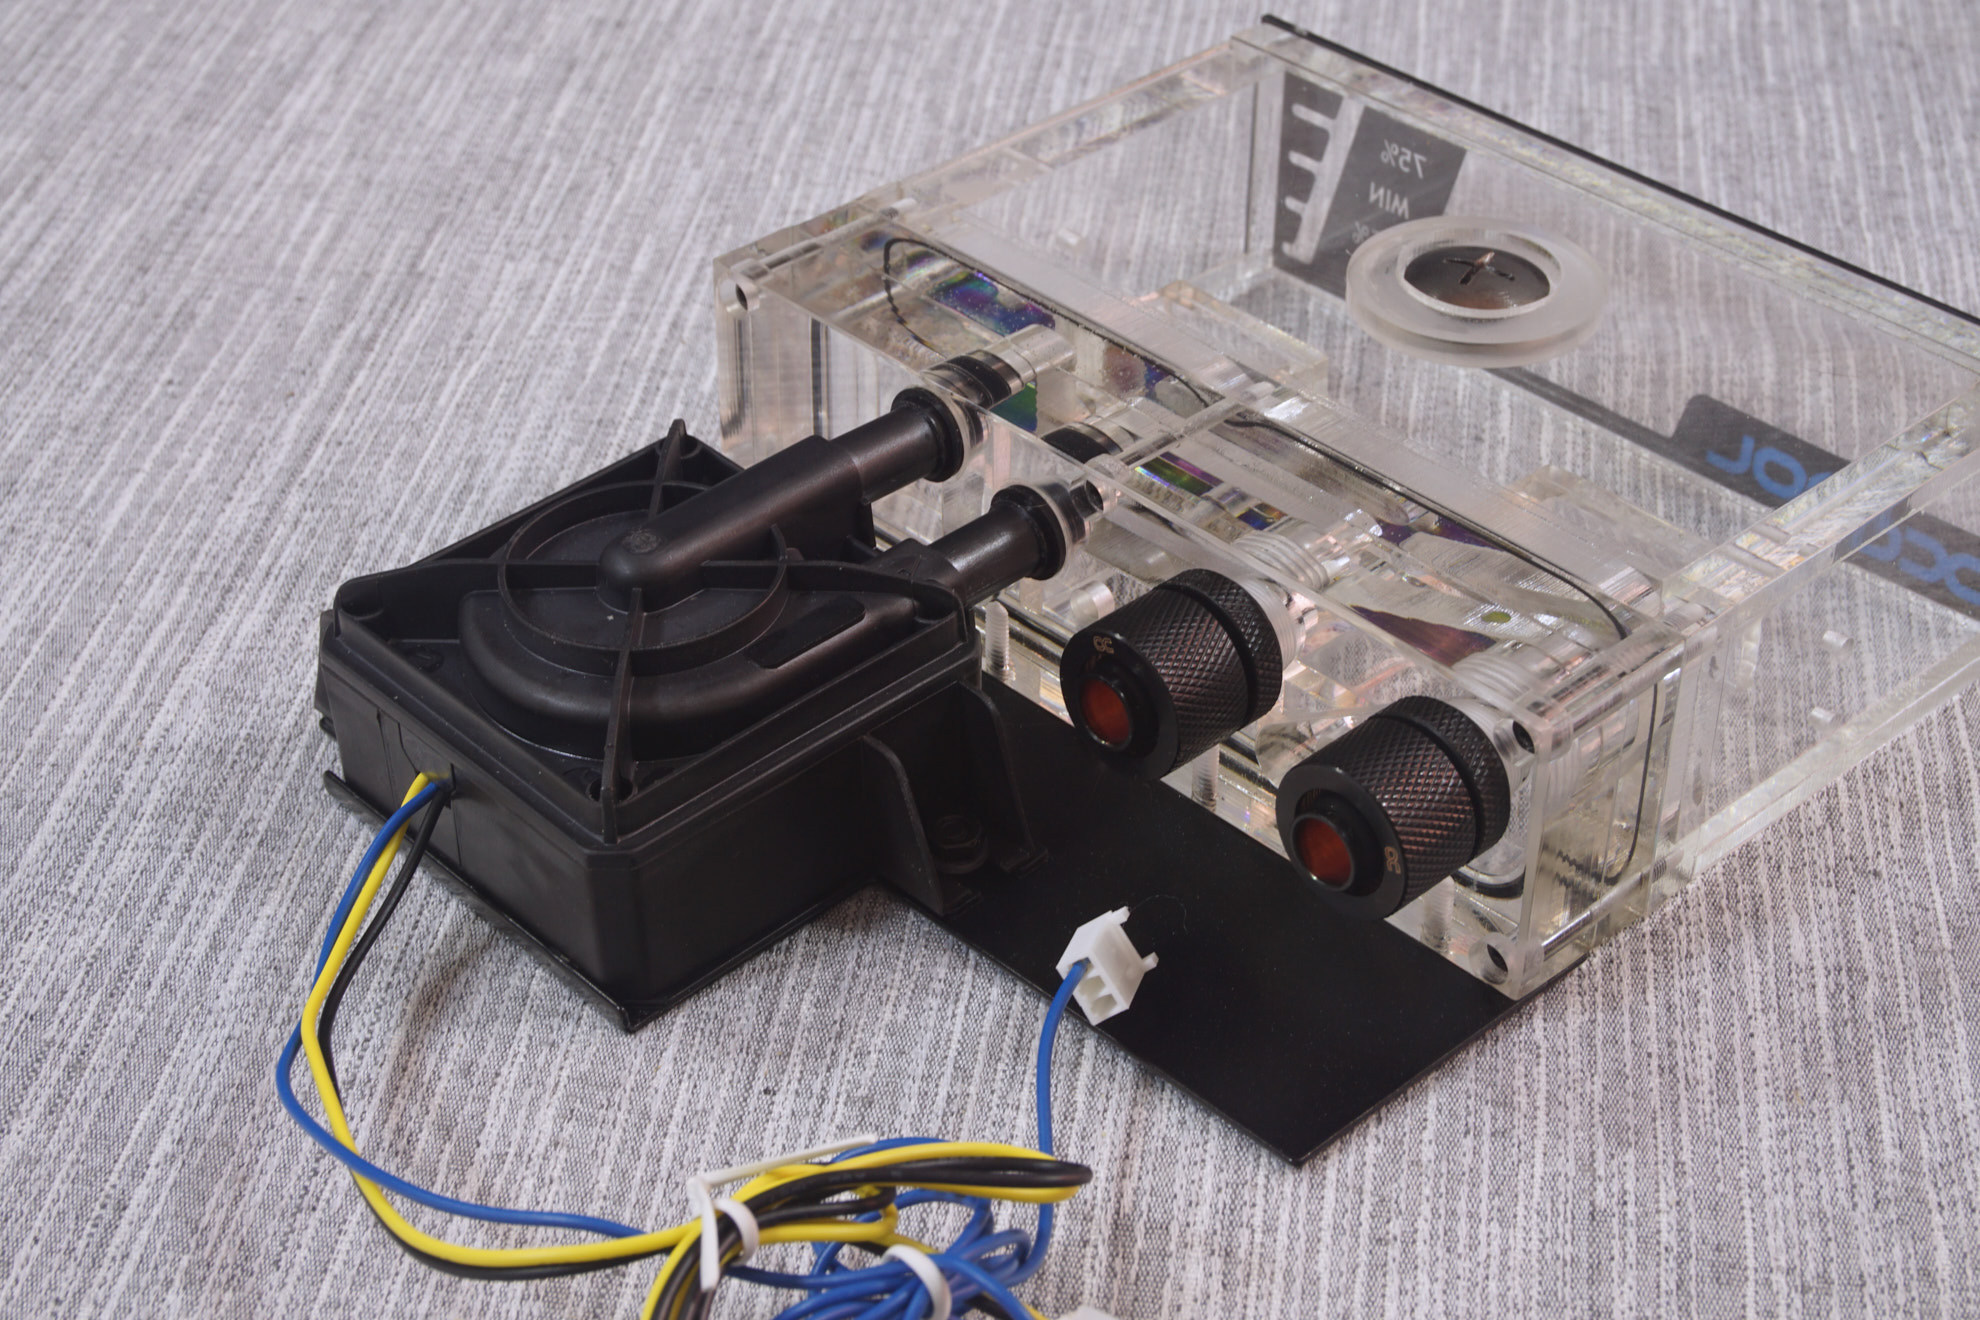
We should note that the Repack reservoir did not actually fit into the Enthoo Pro directly, as the body of the reservoir would not fit in between the side 5.25” device support tabs of the chassis. We had to bend two of the tabs out of the way in order for the reservoir to slide into a 5.25” bay. In order to effortlessly fit into any case, it should vertically have a slightly narrower body than its front faceplate, exactly like 5.25” devices do.
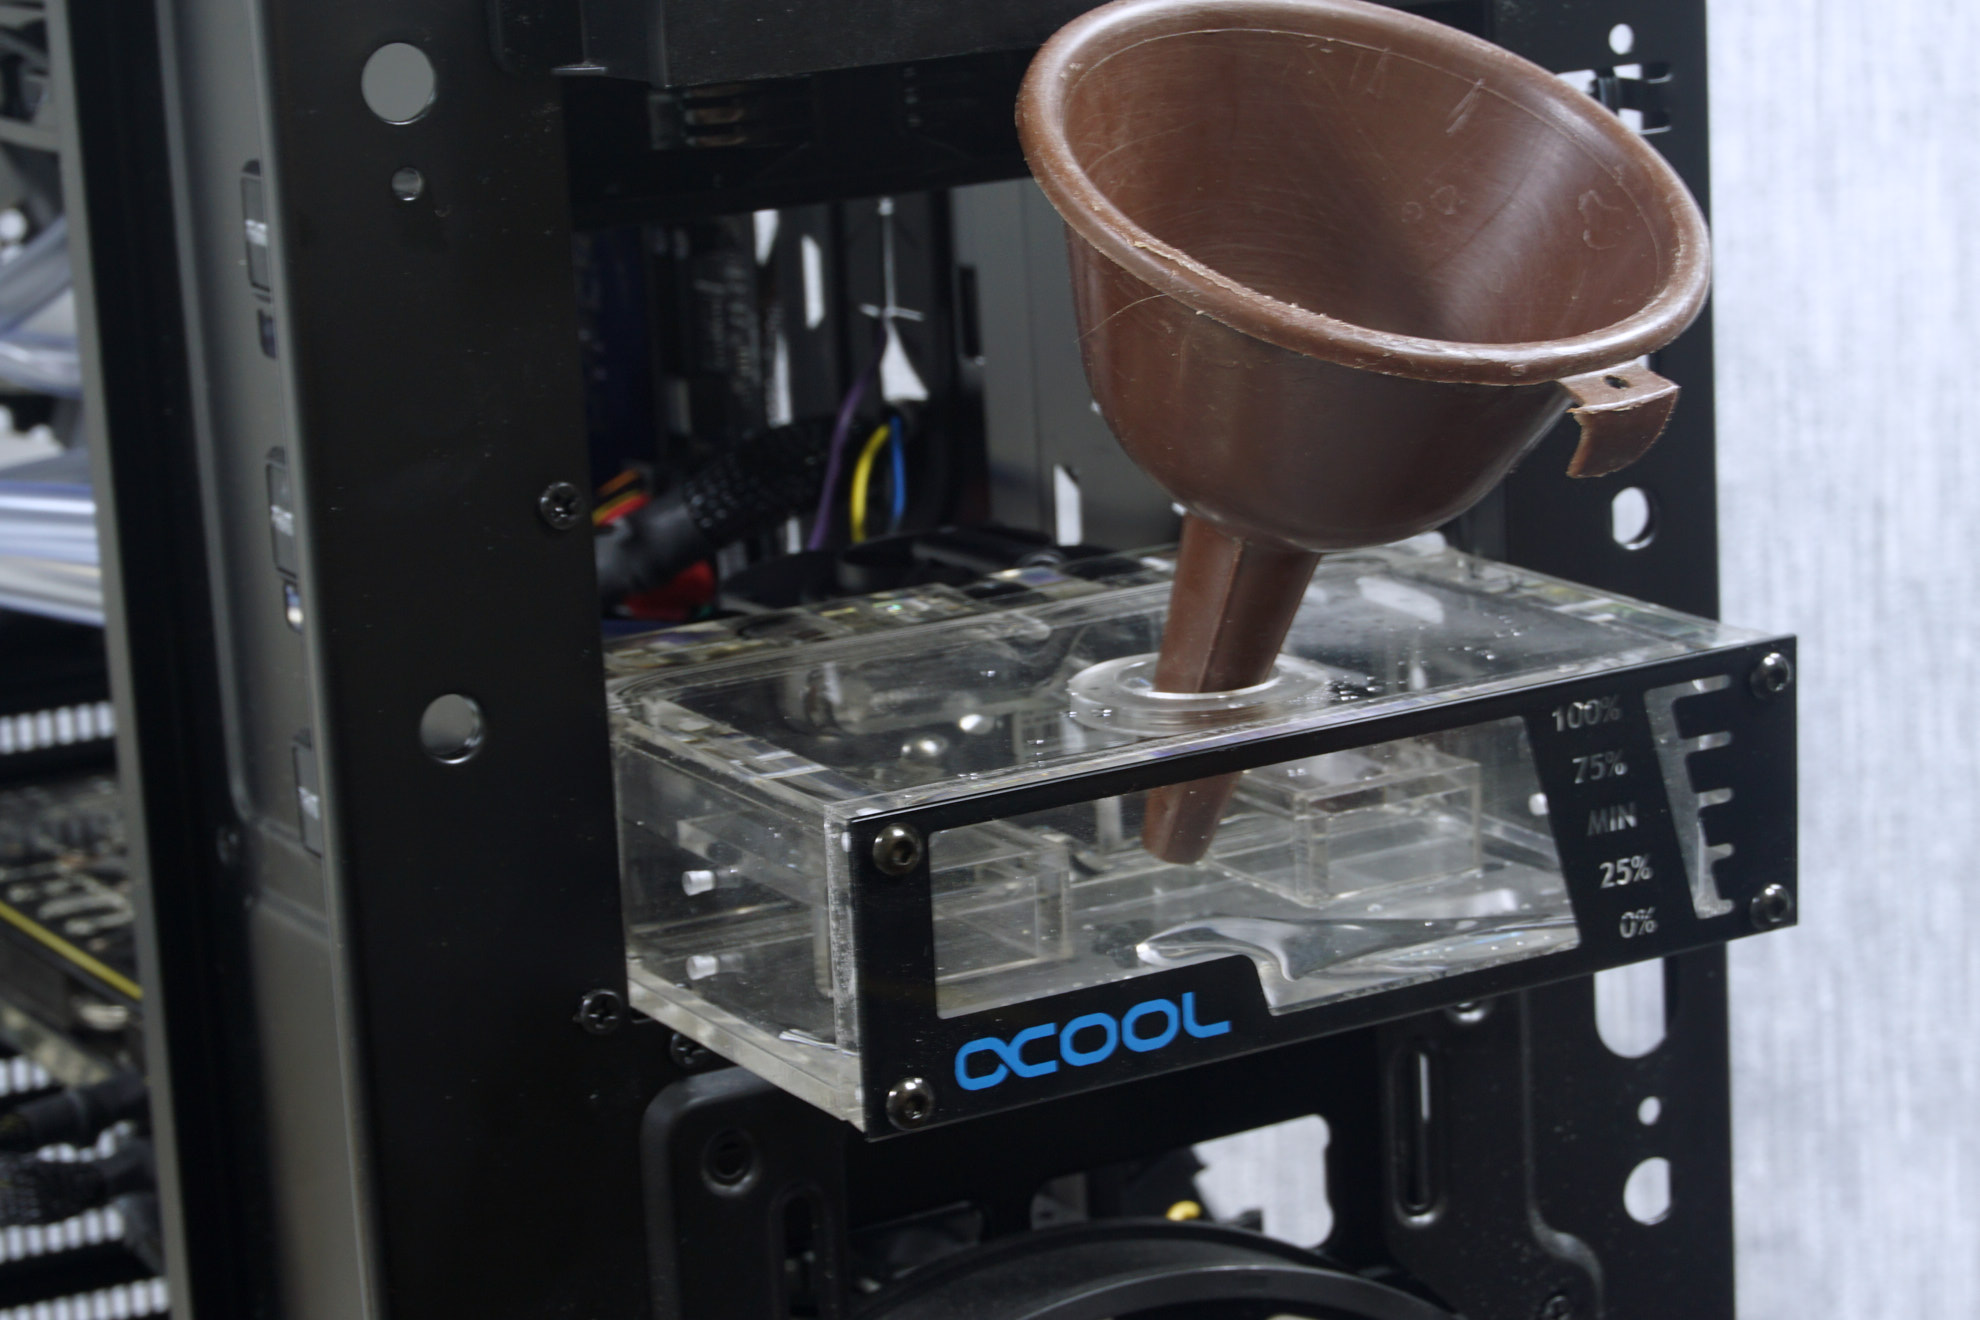
Once fully assembled, the liquid cooling setup looks very tidy and futuristic, having the system standing out from the appearance of a typical PC. When everything has been double-checked and tightened well (by hand, tools will damage most of these parts), it is time to fire up the PSU and fill the system with liquid. Note that the PSU needs to be disconnected from all of the system’s devices during this process, especially the motherboard. Alphacool provides a connector for the PSU that will start it without having to connect it to a motherboard, allowing to calmly fill the kit with liquid and check for leaks. Do not attempt to fill the kit with liquid by powering on the main system even if you are certain that there are no leaks because the CPU will overheat and risk damage in a matter of a few seconds without liquid into the loop.
Originally published at https://www.anandtech.com/show/10785/the-alphacool-nexxxos-cool-answer-360-ddc-xt-liquid-cooling-kit-review (Wayback Machine).